Whether it's a Zoom meeting or recorded content — I've been asked on several occasions what gear I use — and each time, I piecemeal a list and send it.
So — I've decided to break down each piece of audio gear that I use and its purpose so anyone interested will have a jumping-off point, and it'll save me from having to make this list again.
Gear outline
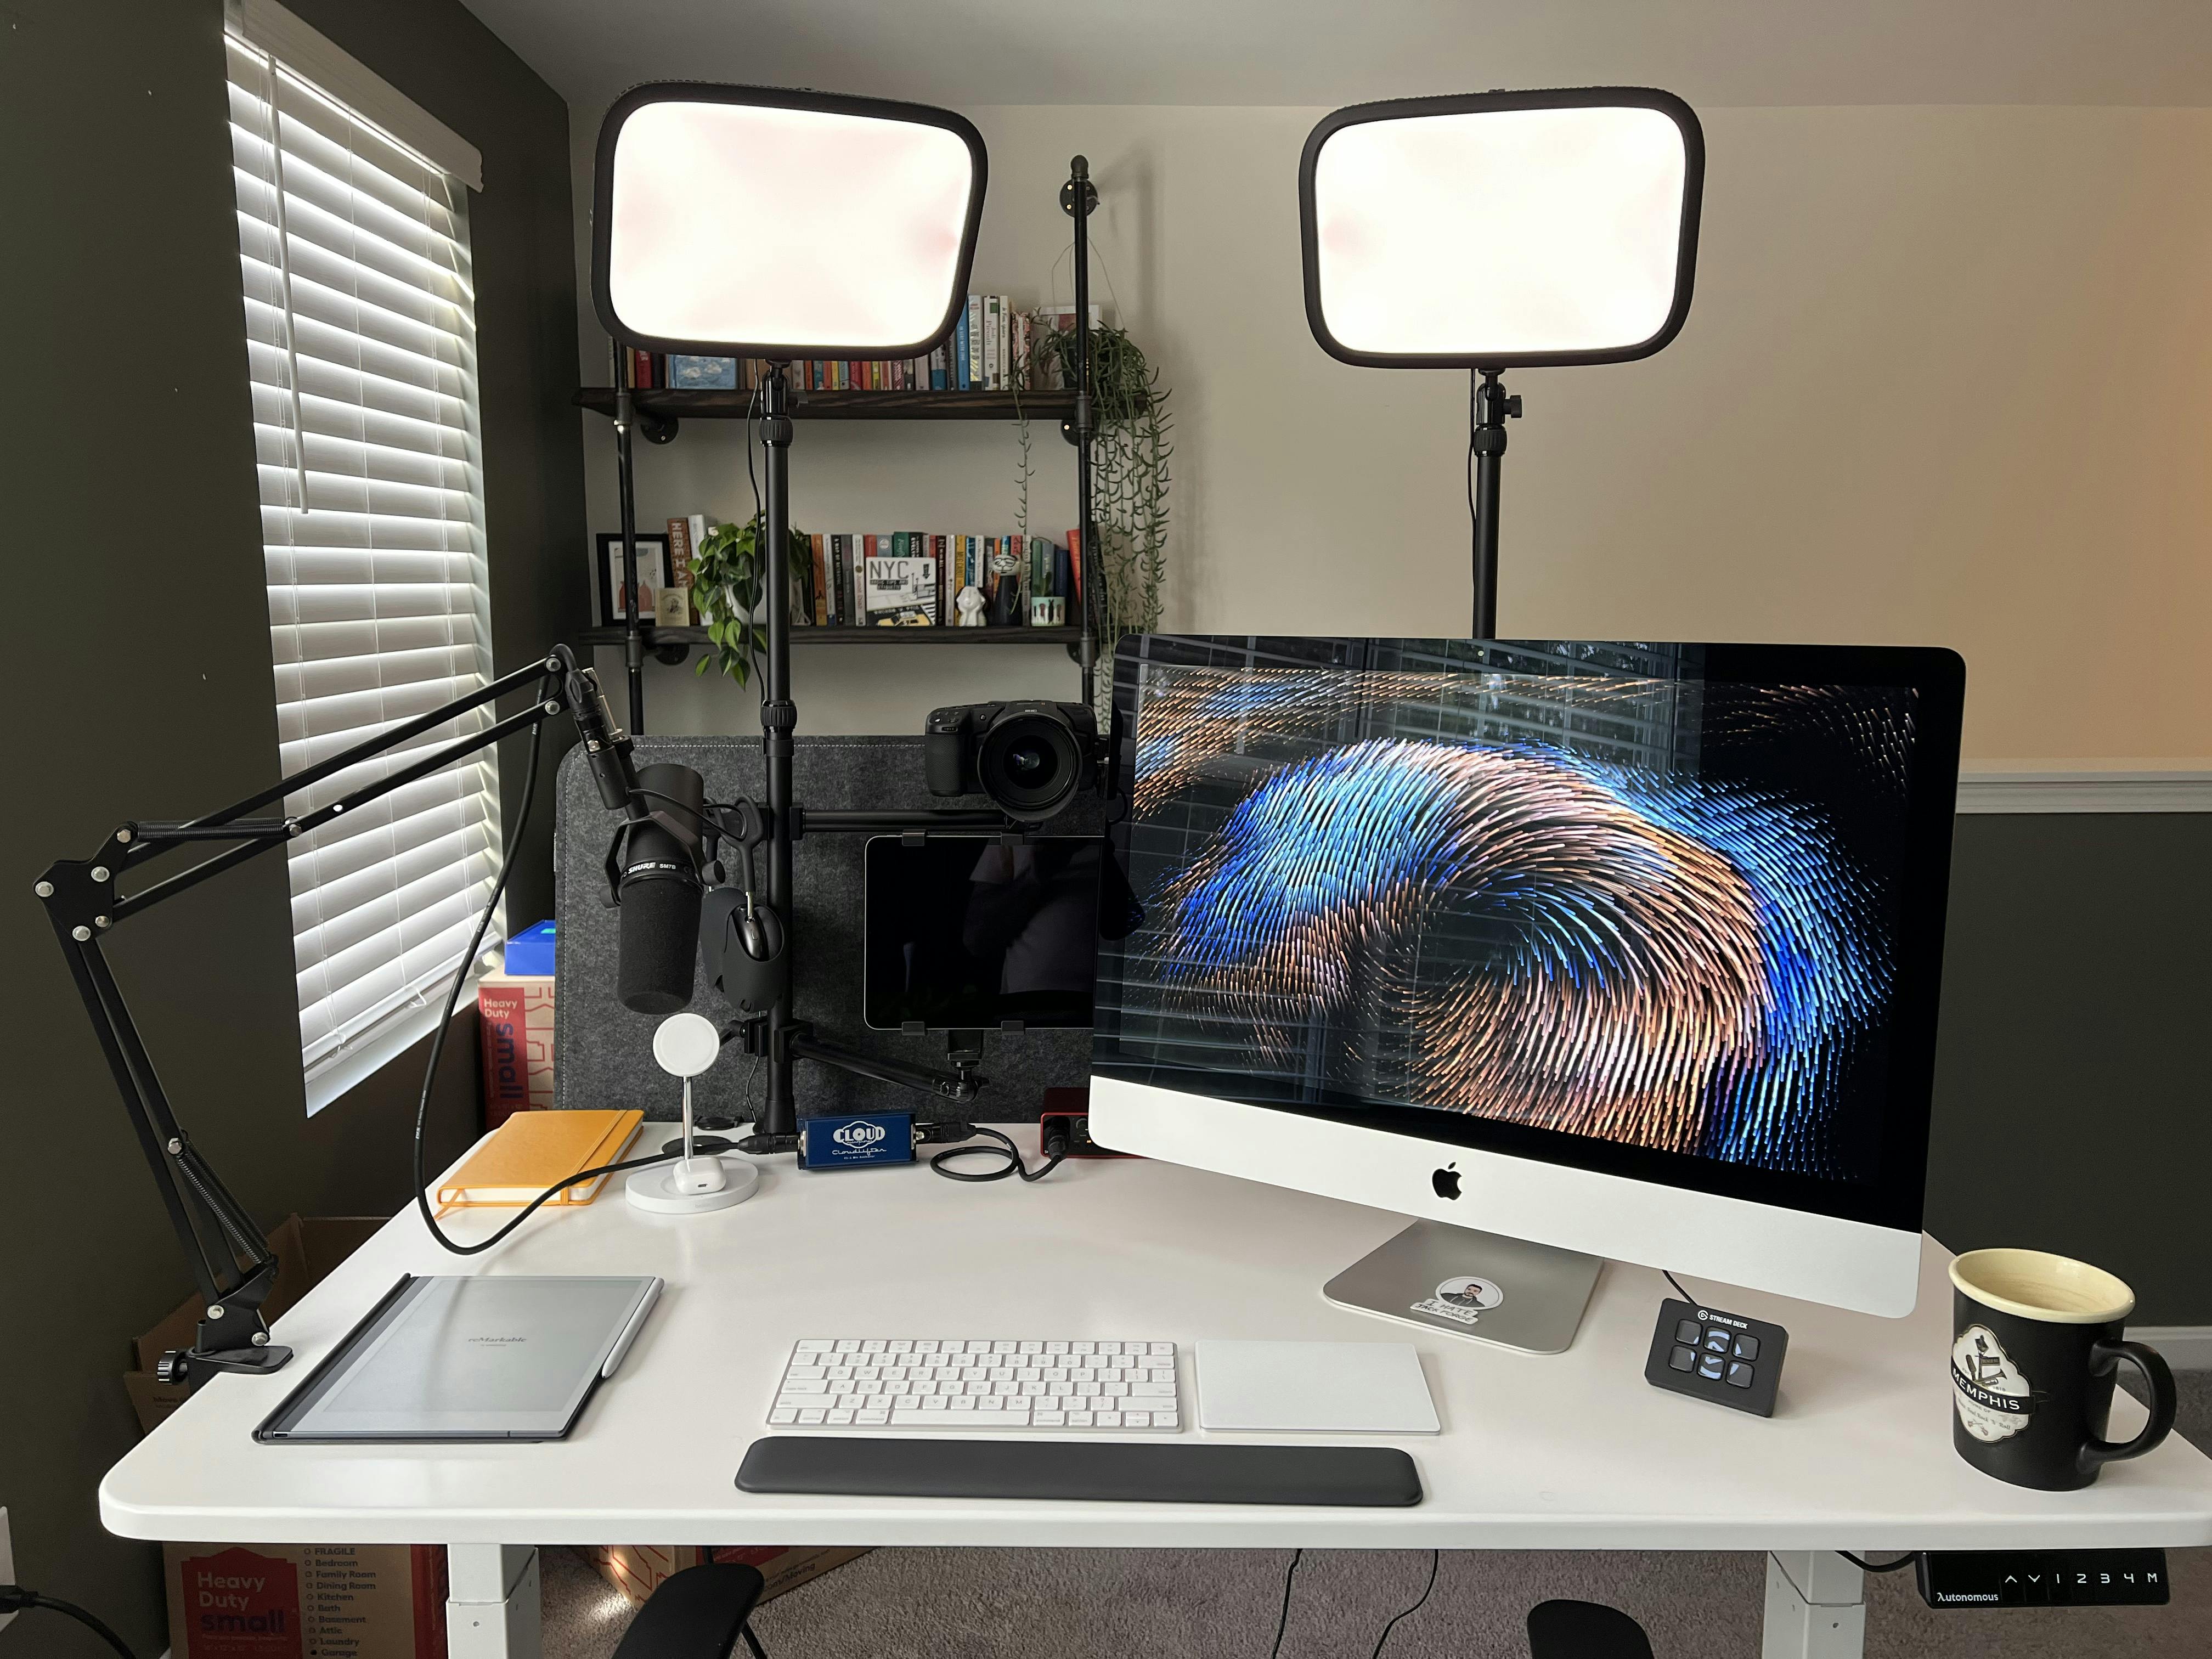
- Camera - Blackmagic Cinema Camera 6K
- Lens - 24mm T1.5 Rokinon Cinema Lenses
- Lighting - Elgato Key Lights
- Microphone - Shure SM7B
- Audio interface - Focusrite Scarlett 2i2
- Signal booster - Cloudlifter
- Mic stand - Suspension Boom Stand
- Audio cables - LyxPro XLR Microphone Cable (3 feet & 1.5 feet)
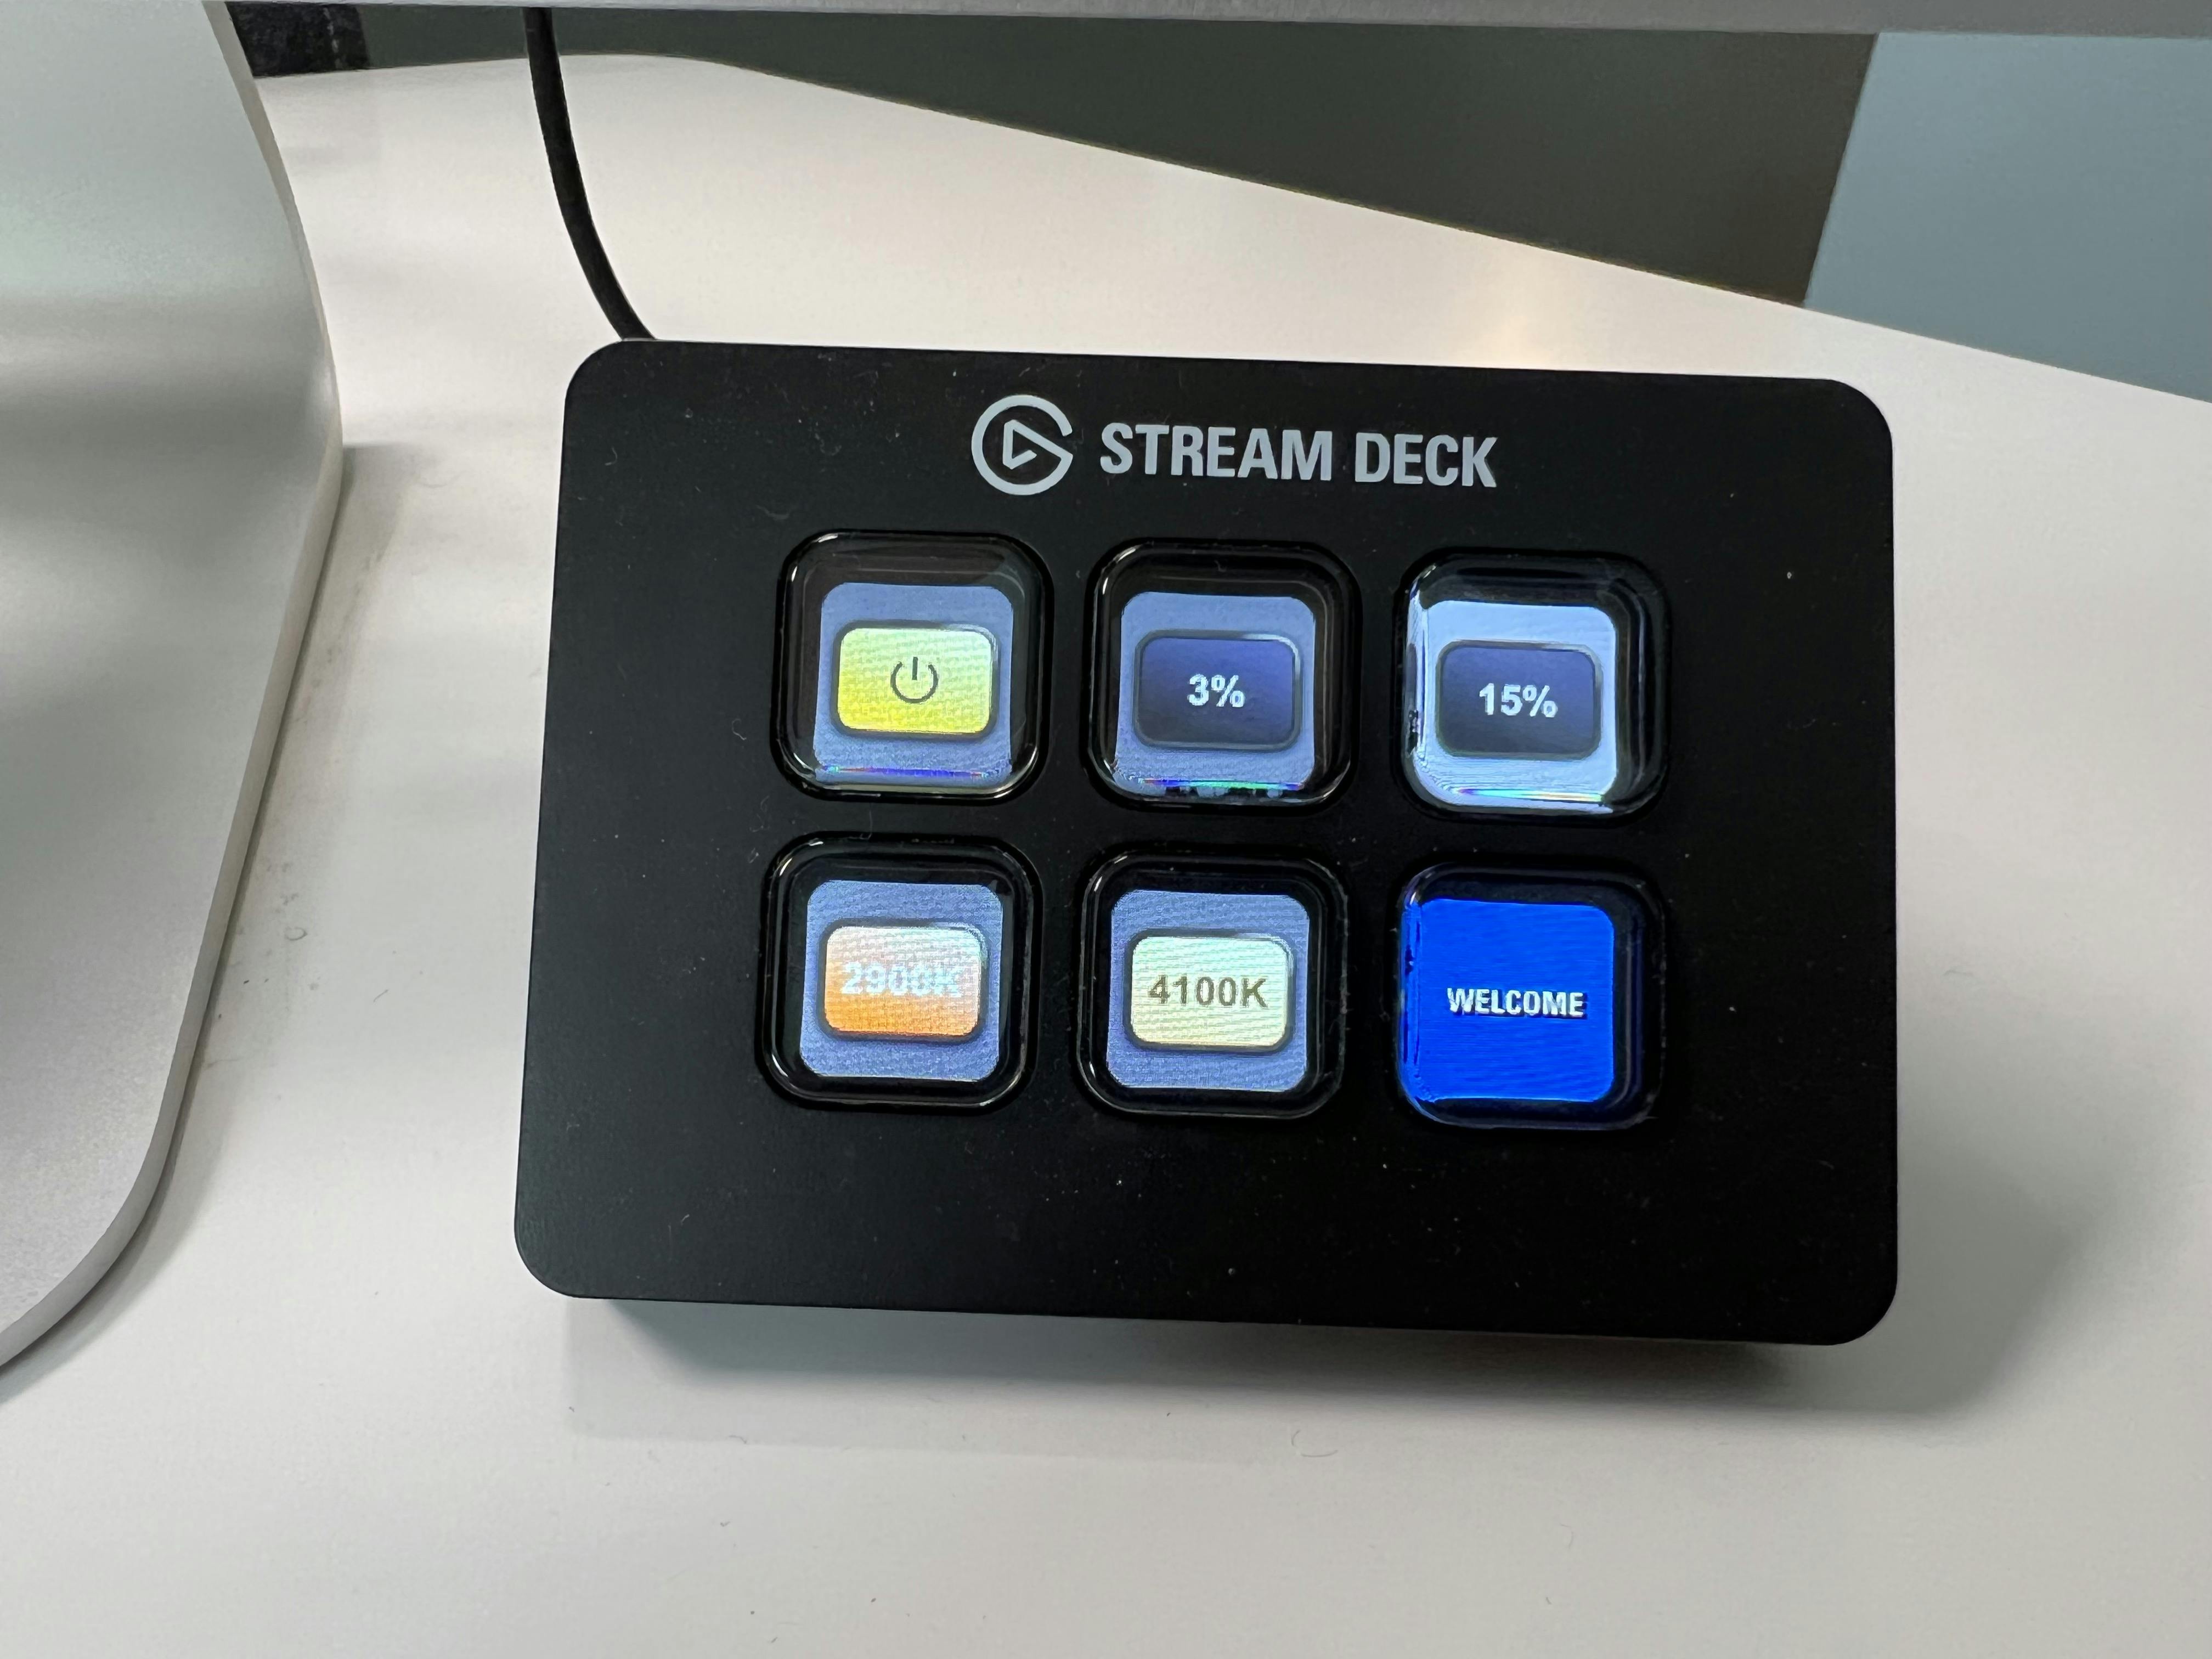
- Controller - Stream Deck Mini
Camera - Blackmagic Cinema Camera 6K
This piece of gear may arguably be overkill for Zoom calls and live streaming — but it comes in clutch for recorded content that you plan to publish on YouTube or Vimeo.
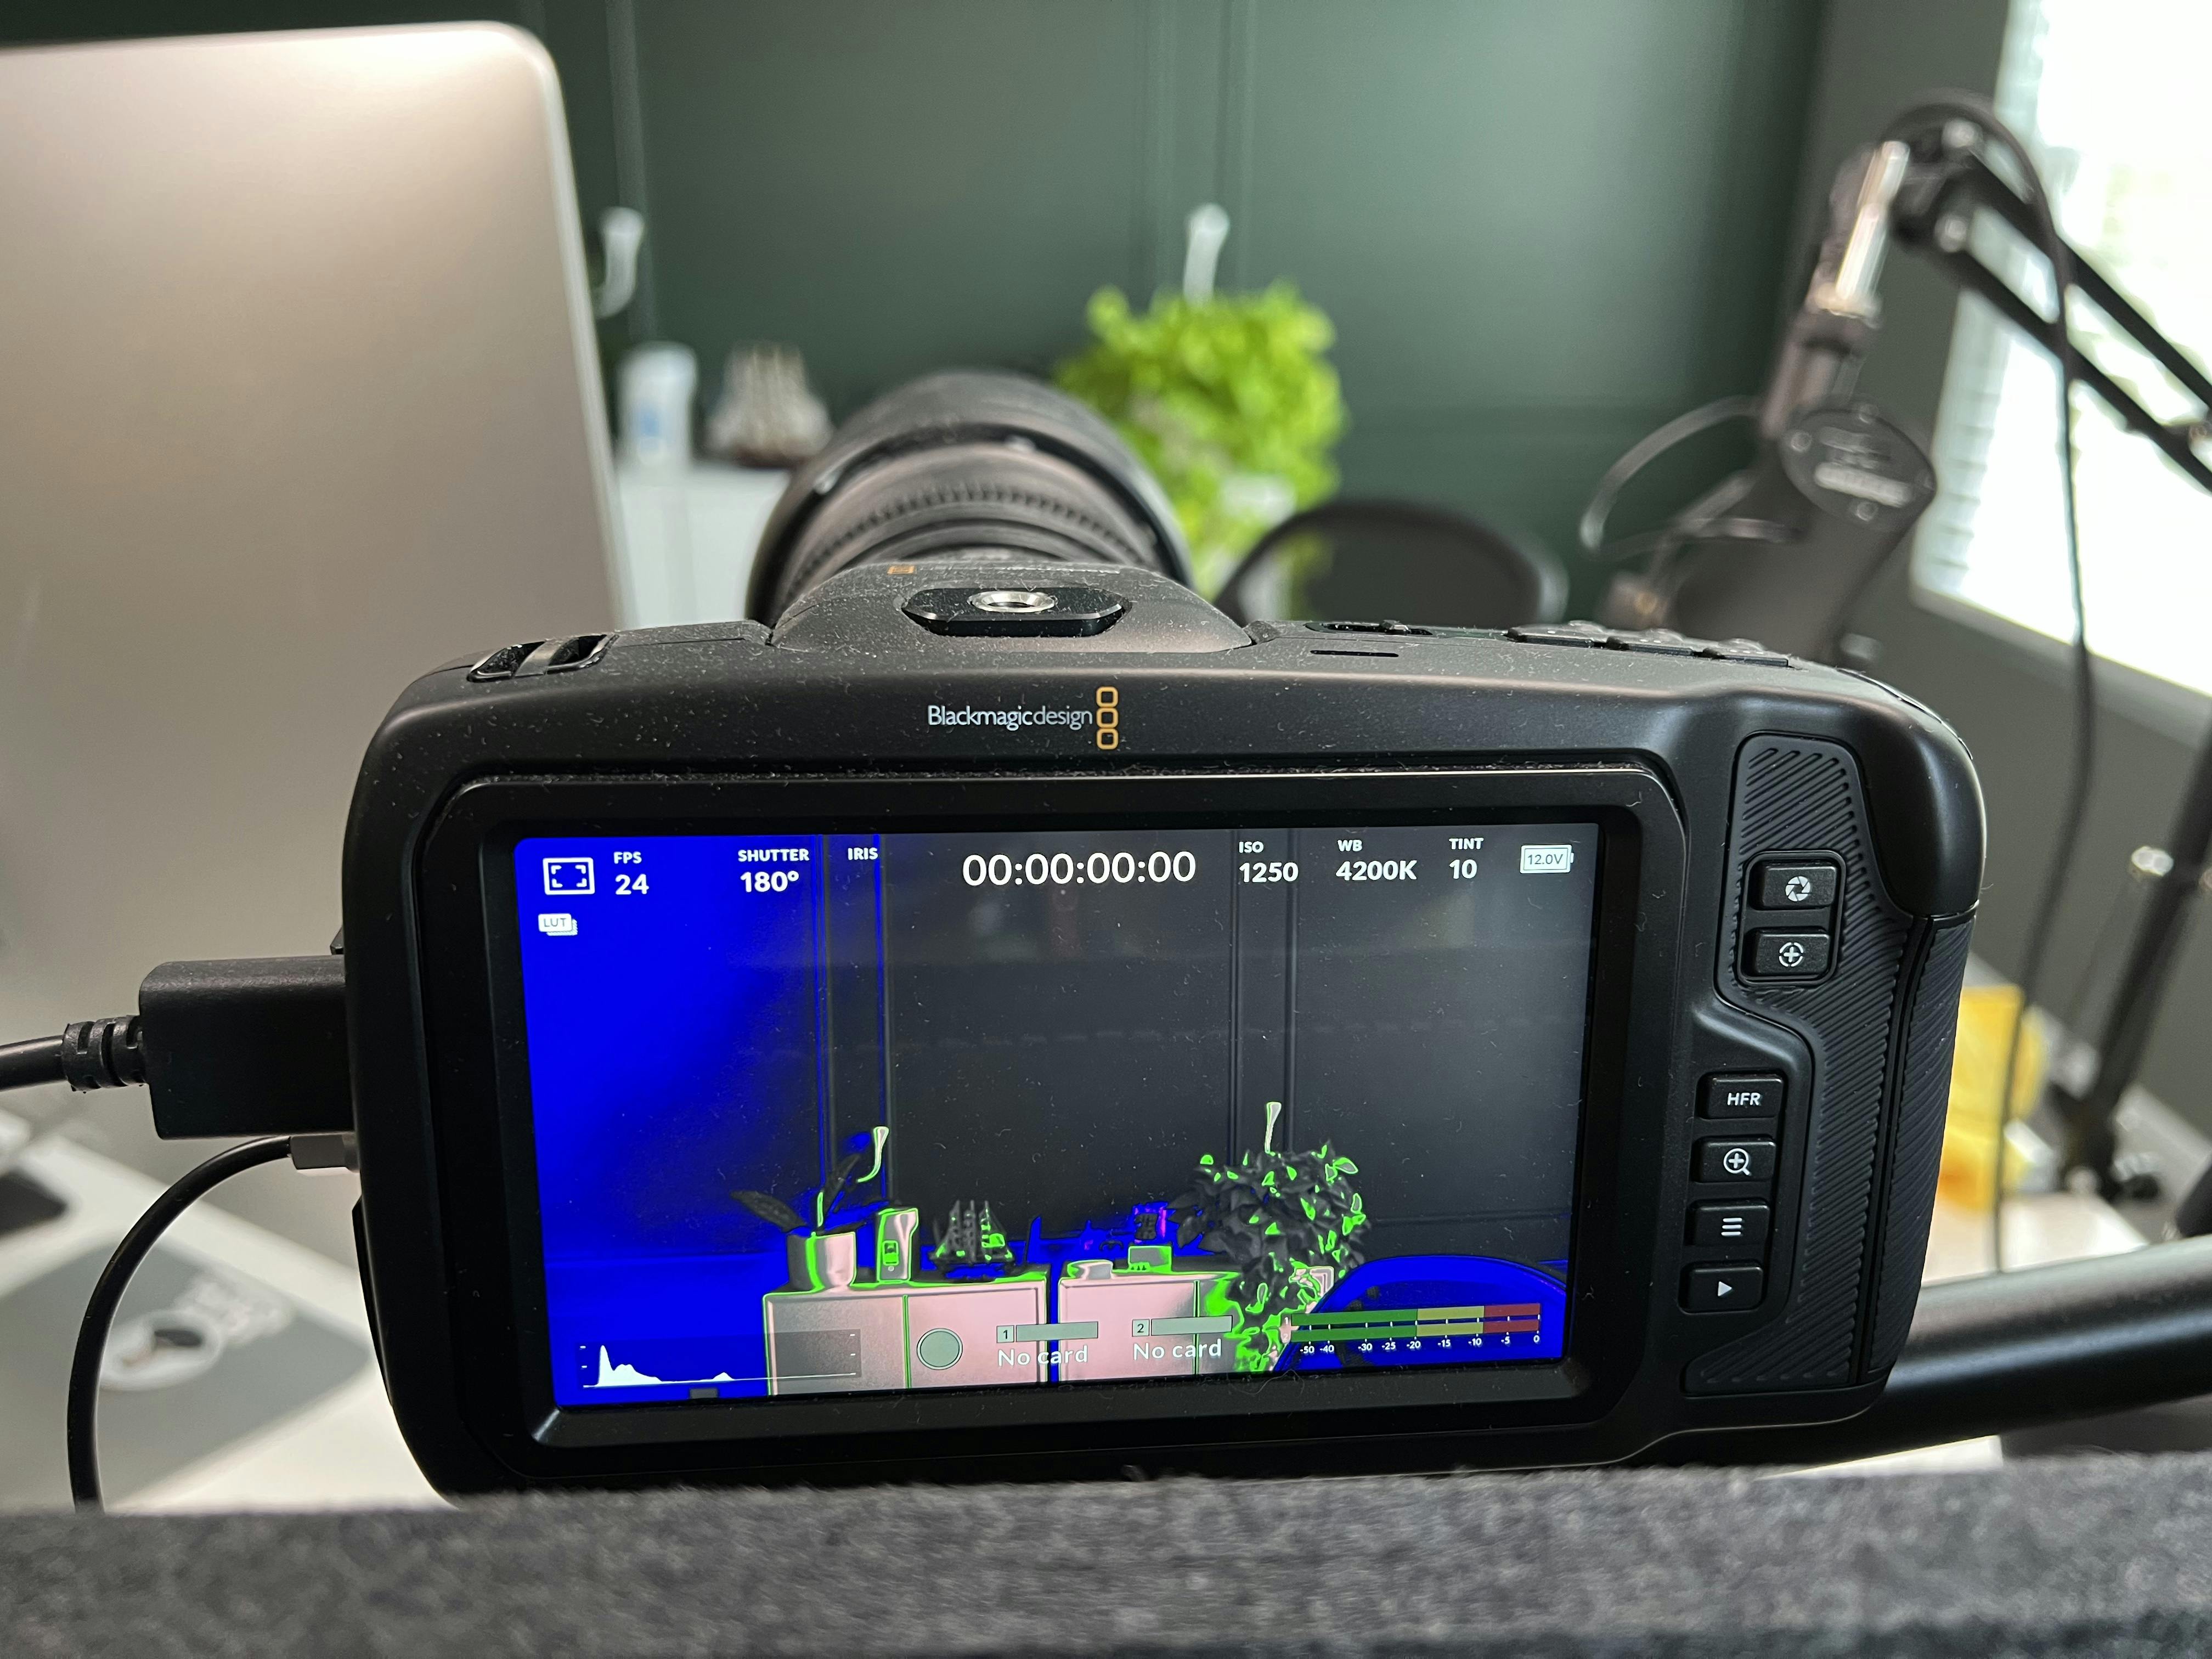
It's also one of the things that people comment on the most during a Zoom call, so there's something to be said about the video quality this puts out. If you're balling on a budget, though, there's no shame in spending less and going with another DSLR just as long as it shoots video and is capable of remaining on for long periods.
I'm not going to get all geeked out about this fantastic camera because that can be an article of its own — and you'll find later in this article that your lens and lighting are just as critical as the camera body.
Blackmagic Pocket Cinema Camera 6K
Lens - 24mm T1.5 Rokinon Cinema Lens
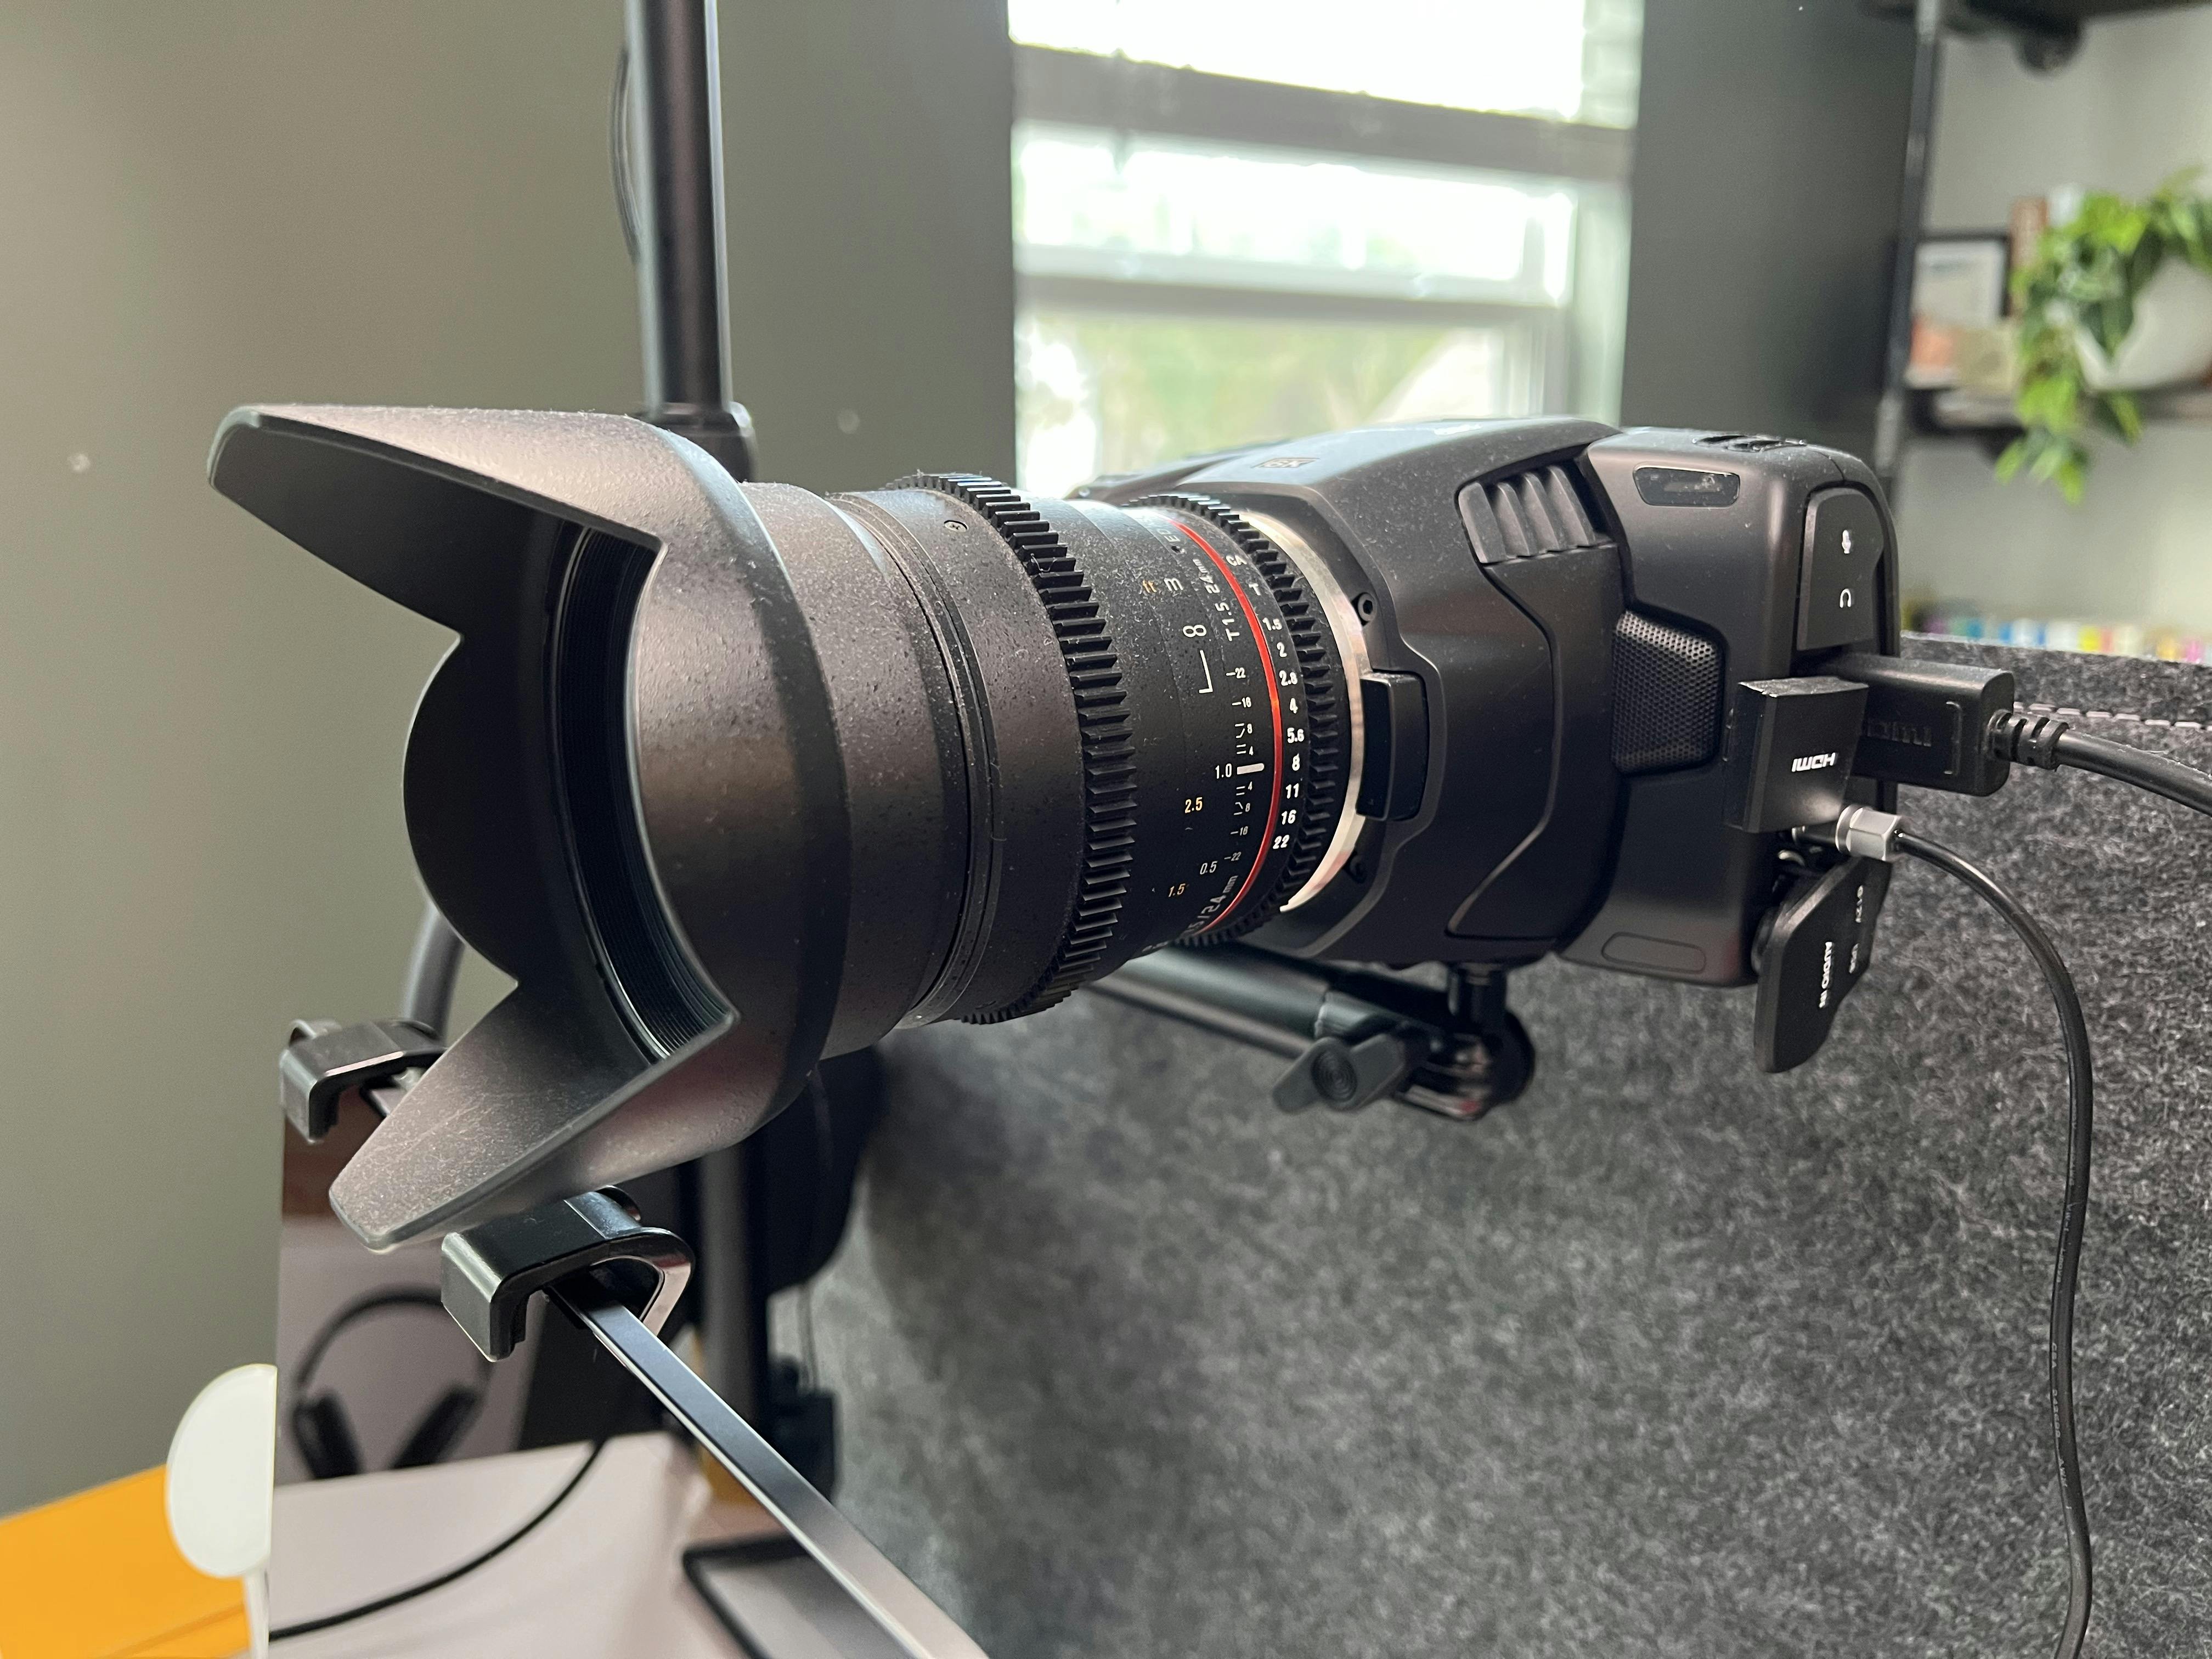
One of the most budget-friendly cinema lenses on the market — Rokinon prime lenses produce fantastic images and are capable of letting in tons of light with a t-stop of 1.5.
I love these lenses because they do not have autofocus, so whatever focal length I set, it stays, which is ideal in a controlled setting. You might find this ideal too, so that every time you sit down in front of the computer — you're set and ready to go.
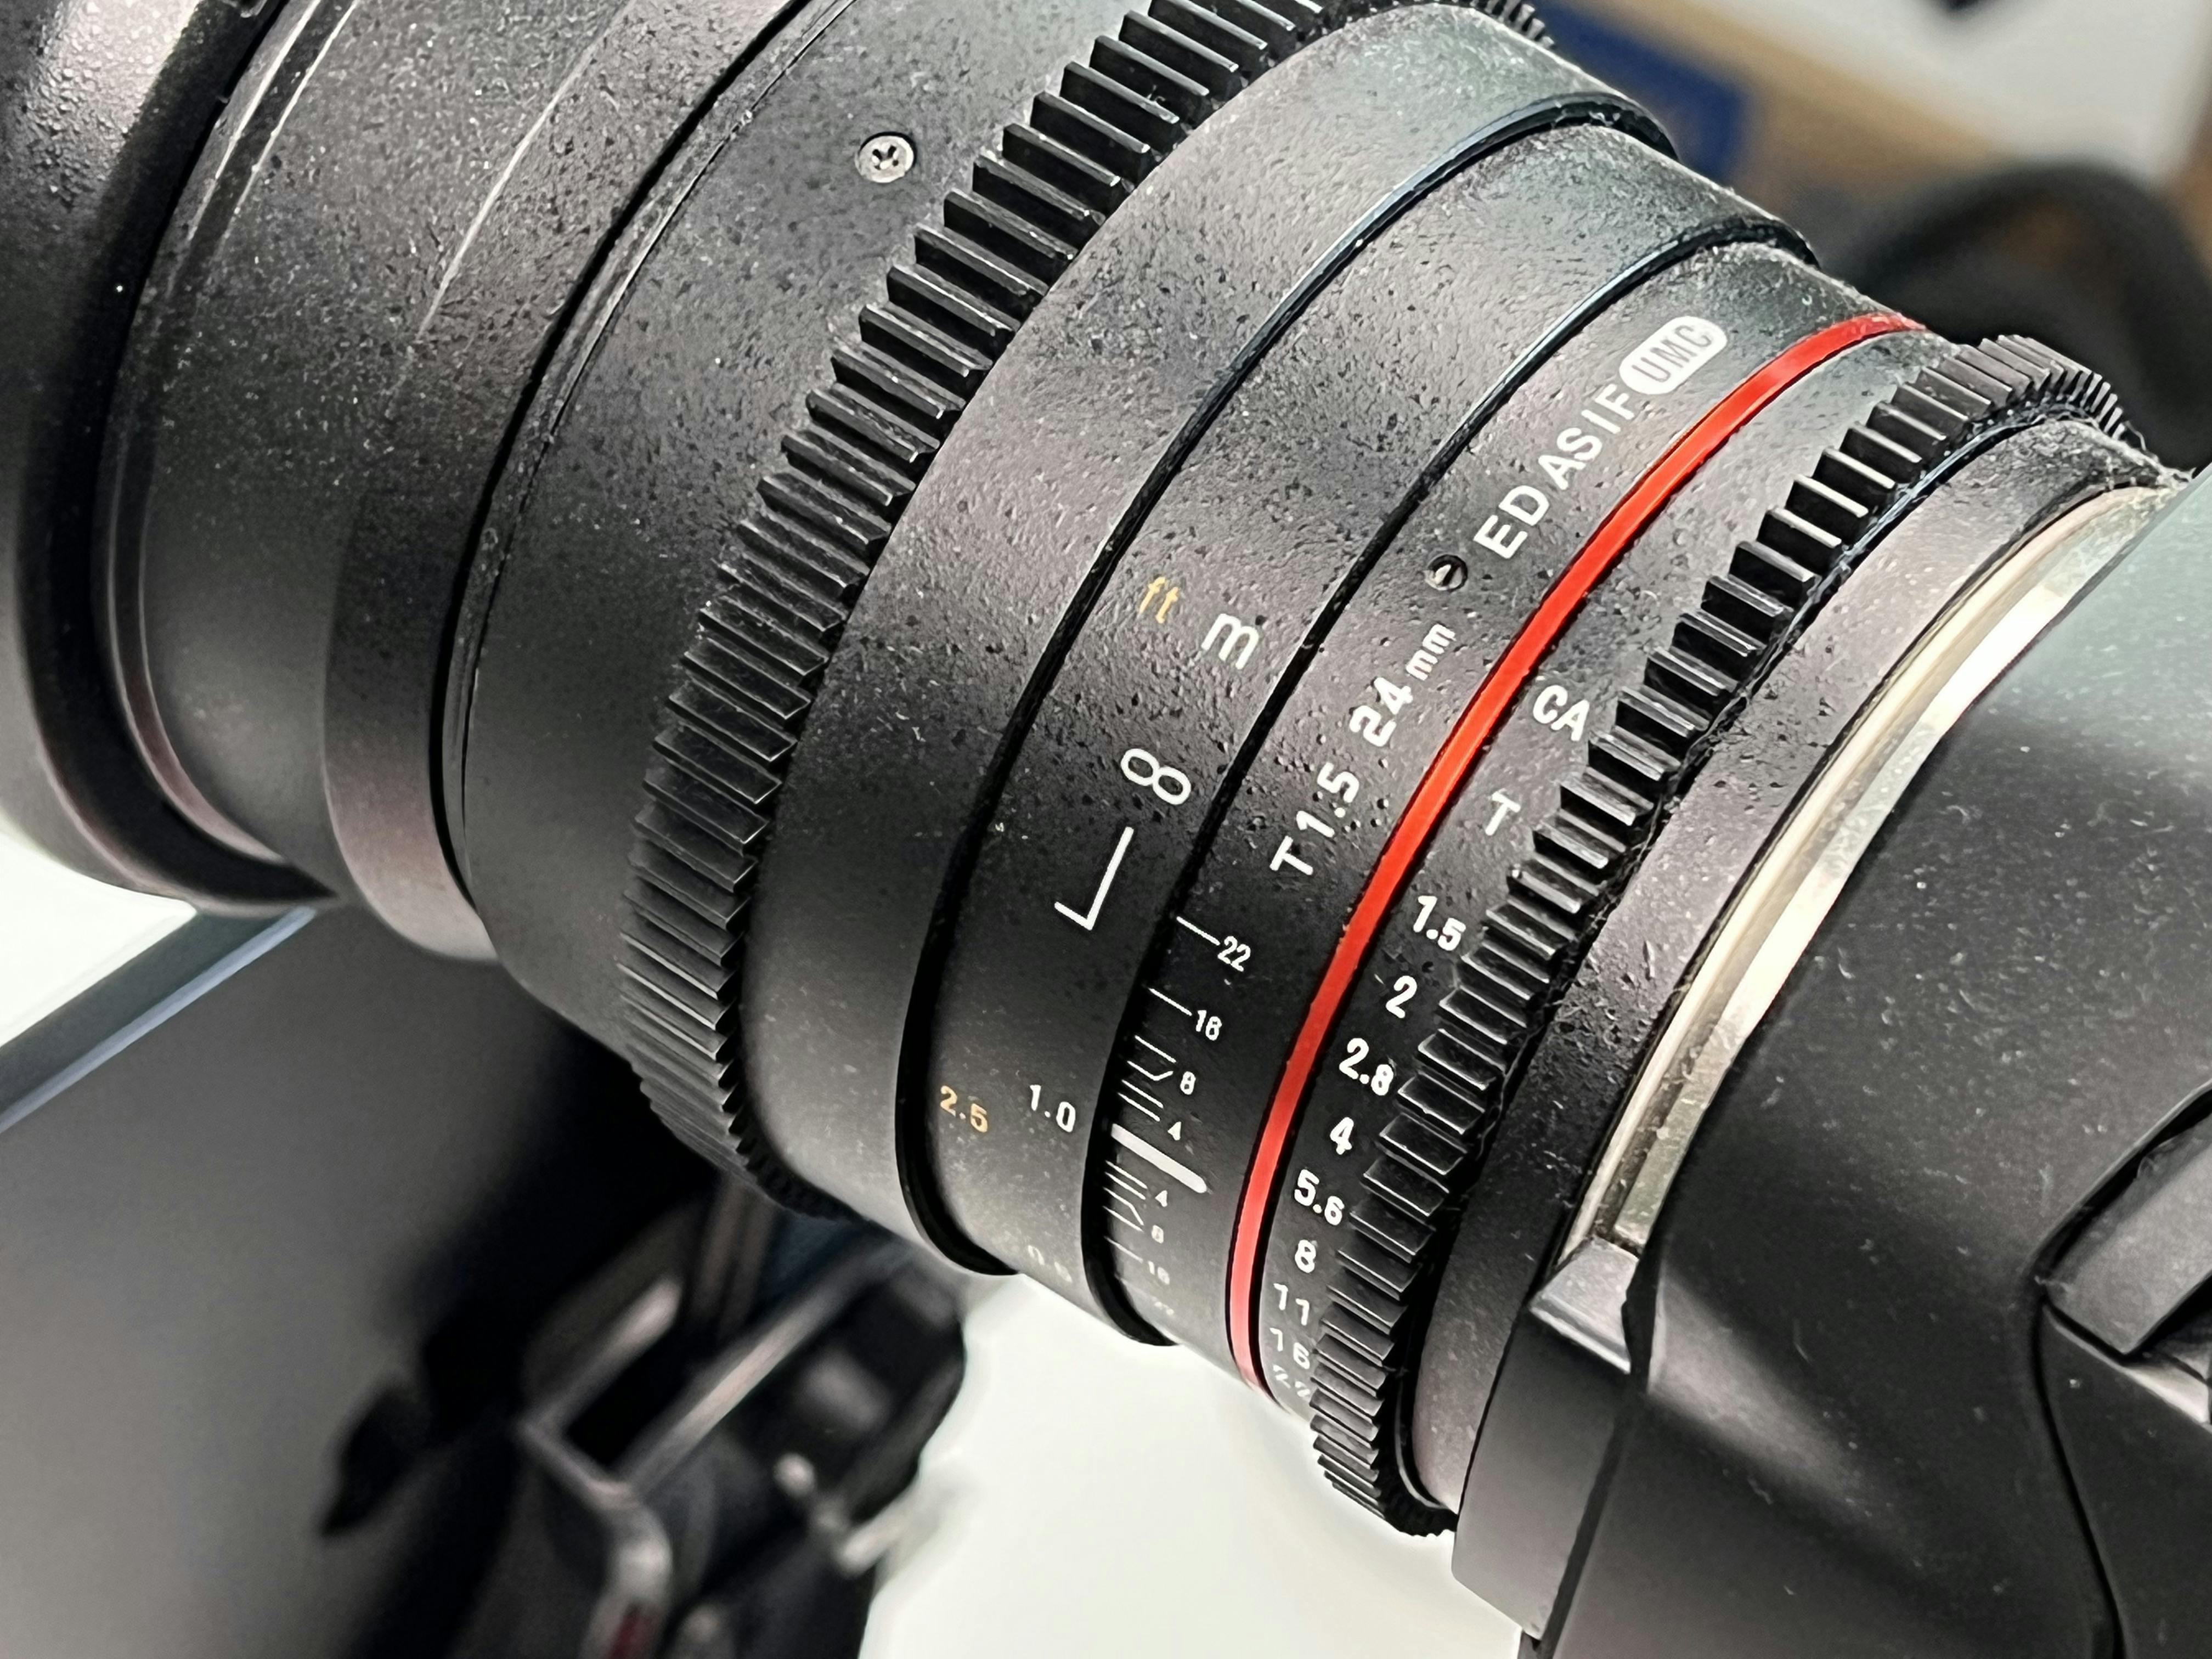
When I purchased these lenses about 8 years ago — the cost was half of what they are today. It comes as no shock that they doubled in price since they are a great piece of gear that lasts a long time.
I'm not recommending that you go and grab these lenses, but I luckily still had mine from my early cinematography days.
If the price is too steep — start with any glass and upgrade later, or if you can find a camera body lens combo, that should do you just fine.
Rokinon Cine DS DS24M-C 24mm T1.5 ED AS IF UMC Full Frame Cine Wide Angle Lens for Canon EF
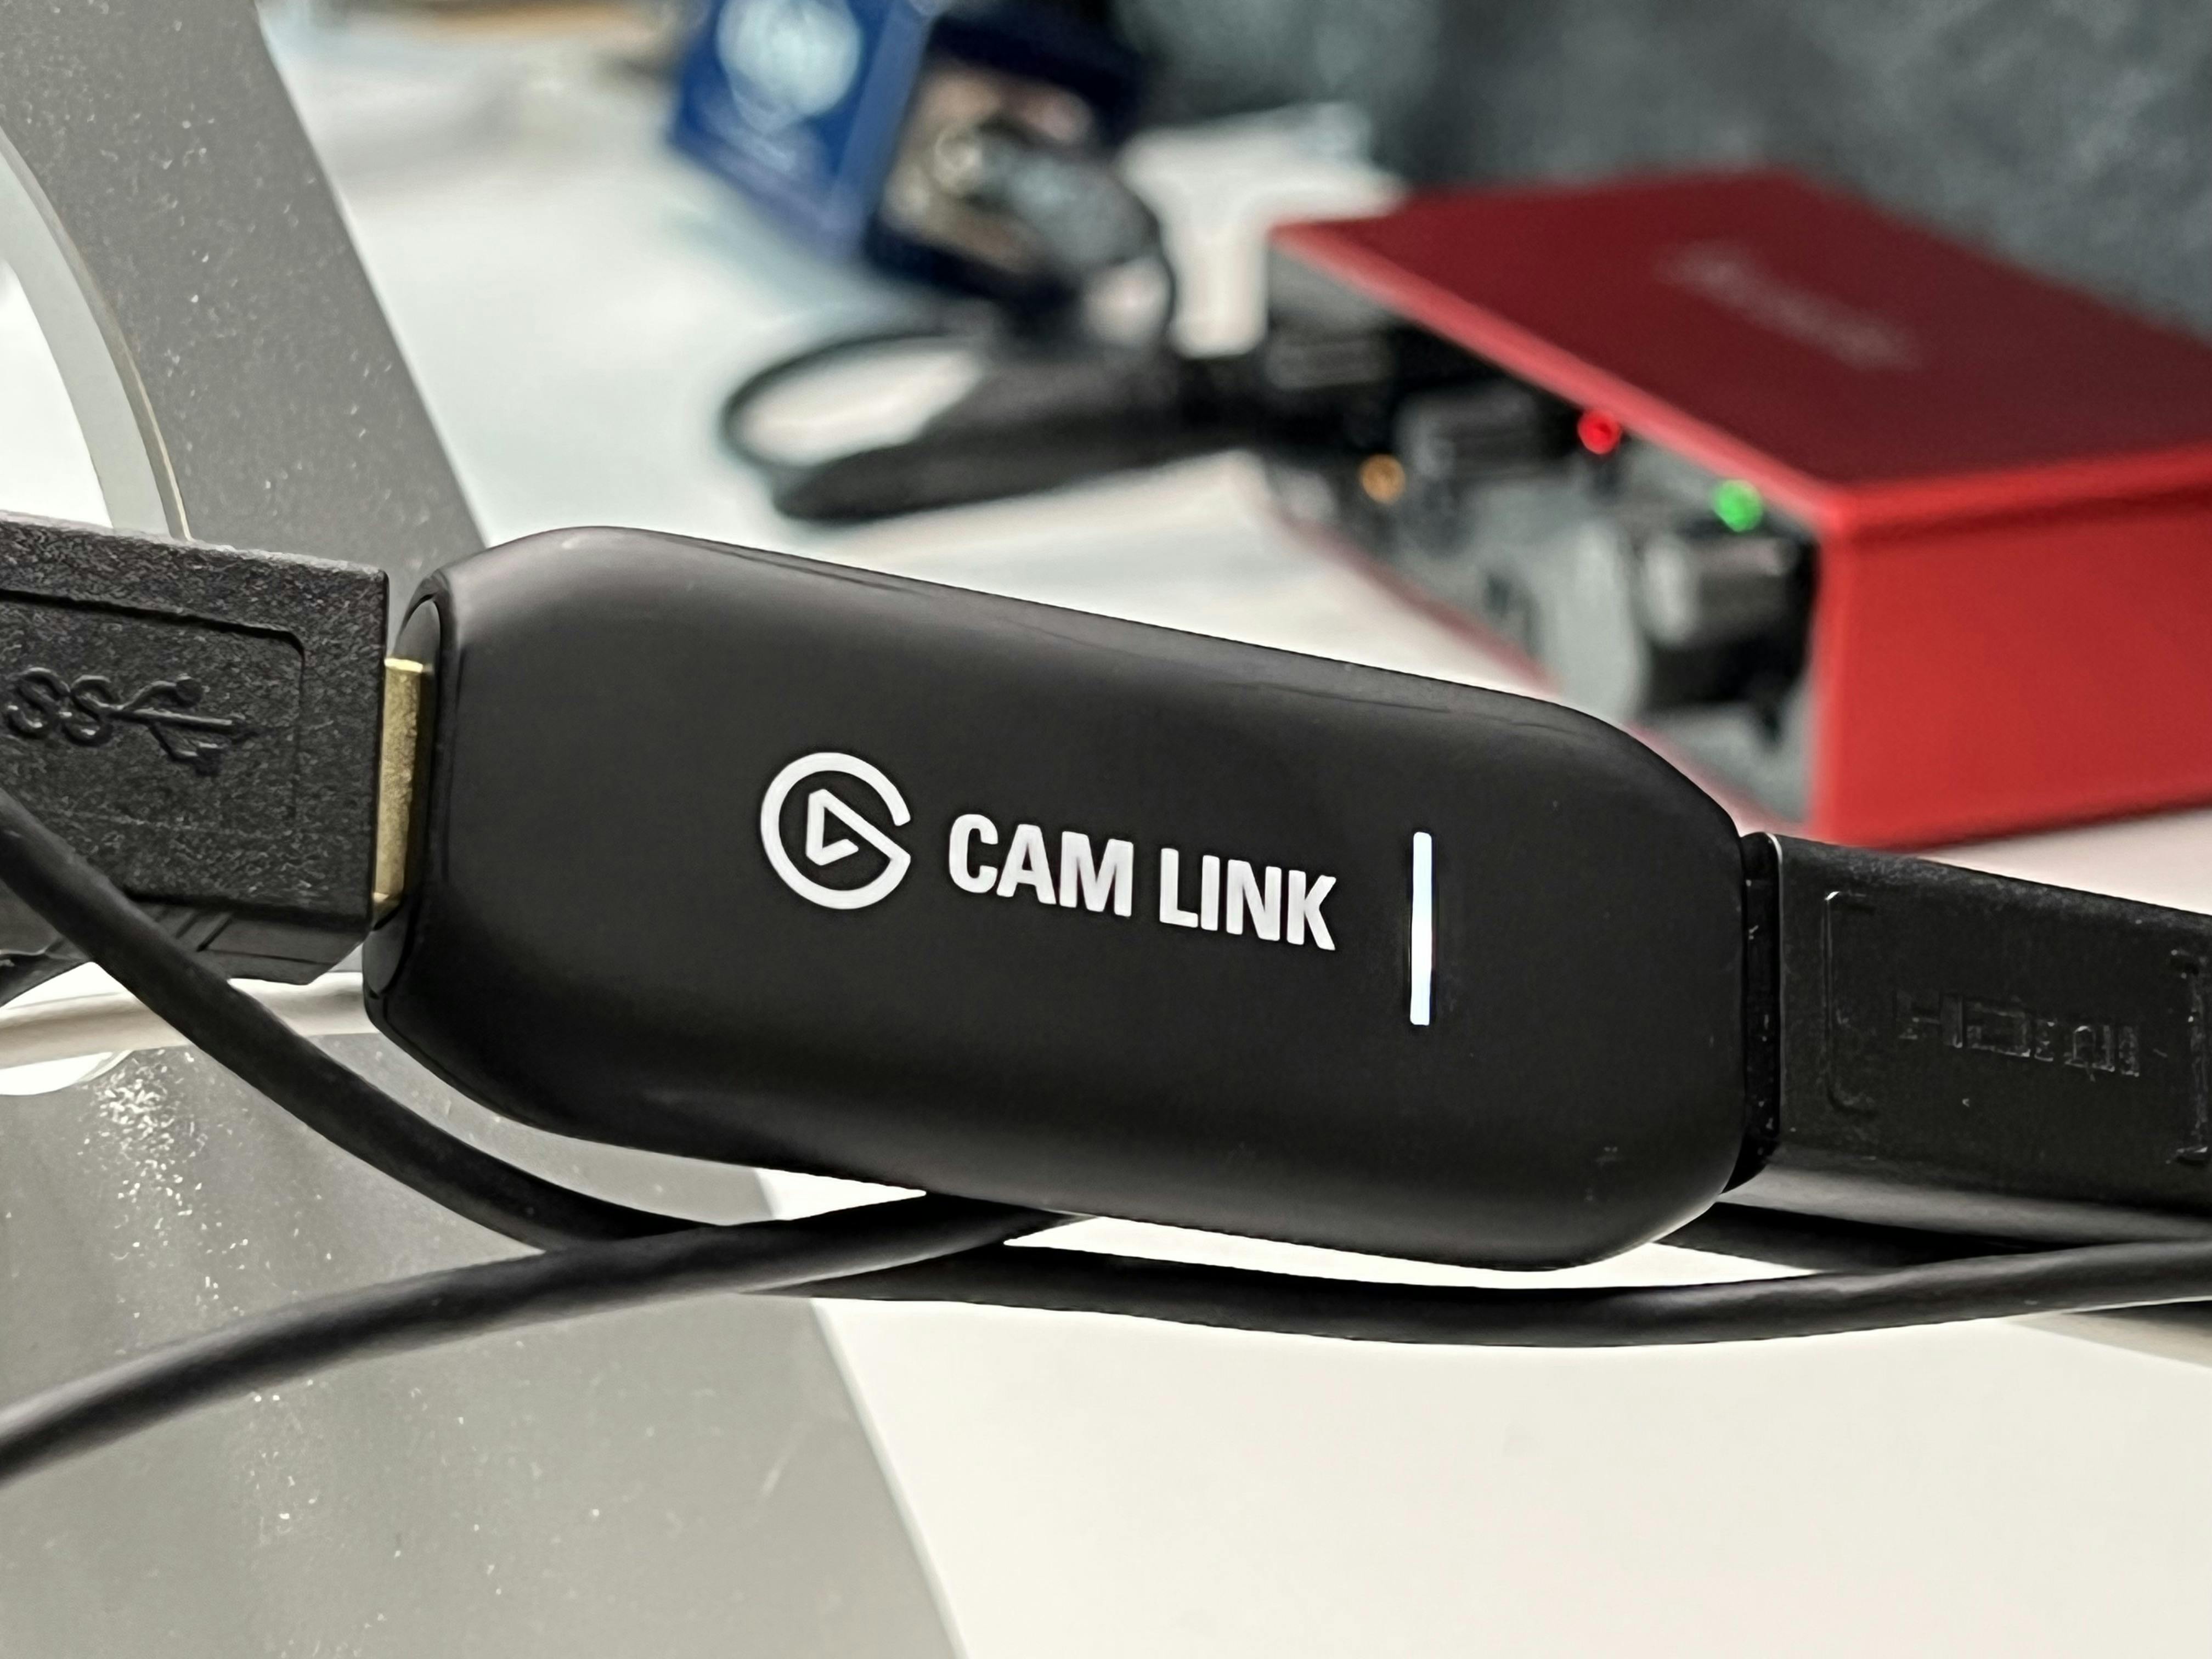
Video Interface - Cam Link 4k
Piping your video signal into your computer is not as straightforward as you might think. At first, I purchased a cheap HDMI adapter, but sadly, the video signal did not show as an option under the video settings in Zoom, QuickTime, or OBS.
Then I found the Elgato Cam Link, and it was plug-and-play right out of the box.
Lighting - Elgato Key Lights
Ok — so you've got the camera and the lens, and you turn it on, only to find out that the image it produces is too dim, and when you crank up the shutter or ISO on the camera, it becomes too grainy.
That's because you need to light yourself with a proper amount of foreground lighting — and for that, I use the Elgato Key Lights by Corsair.
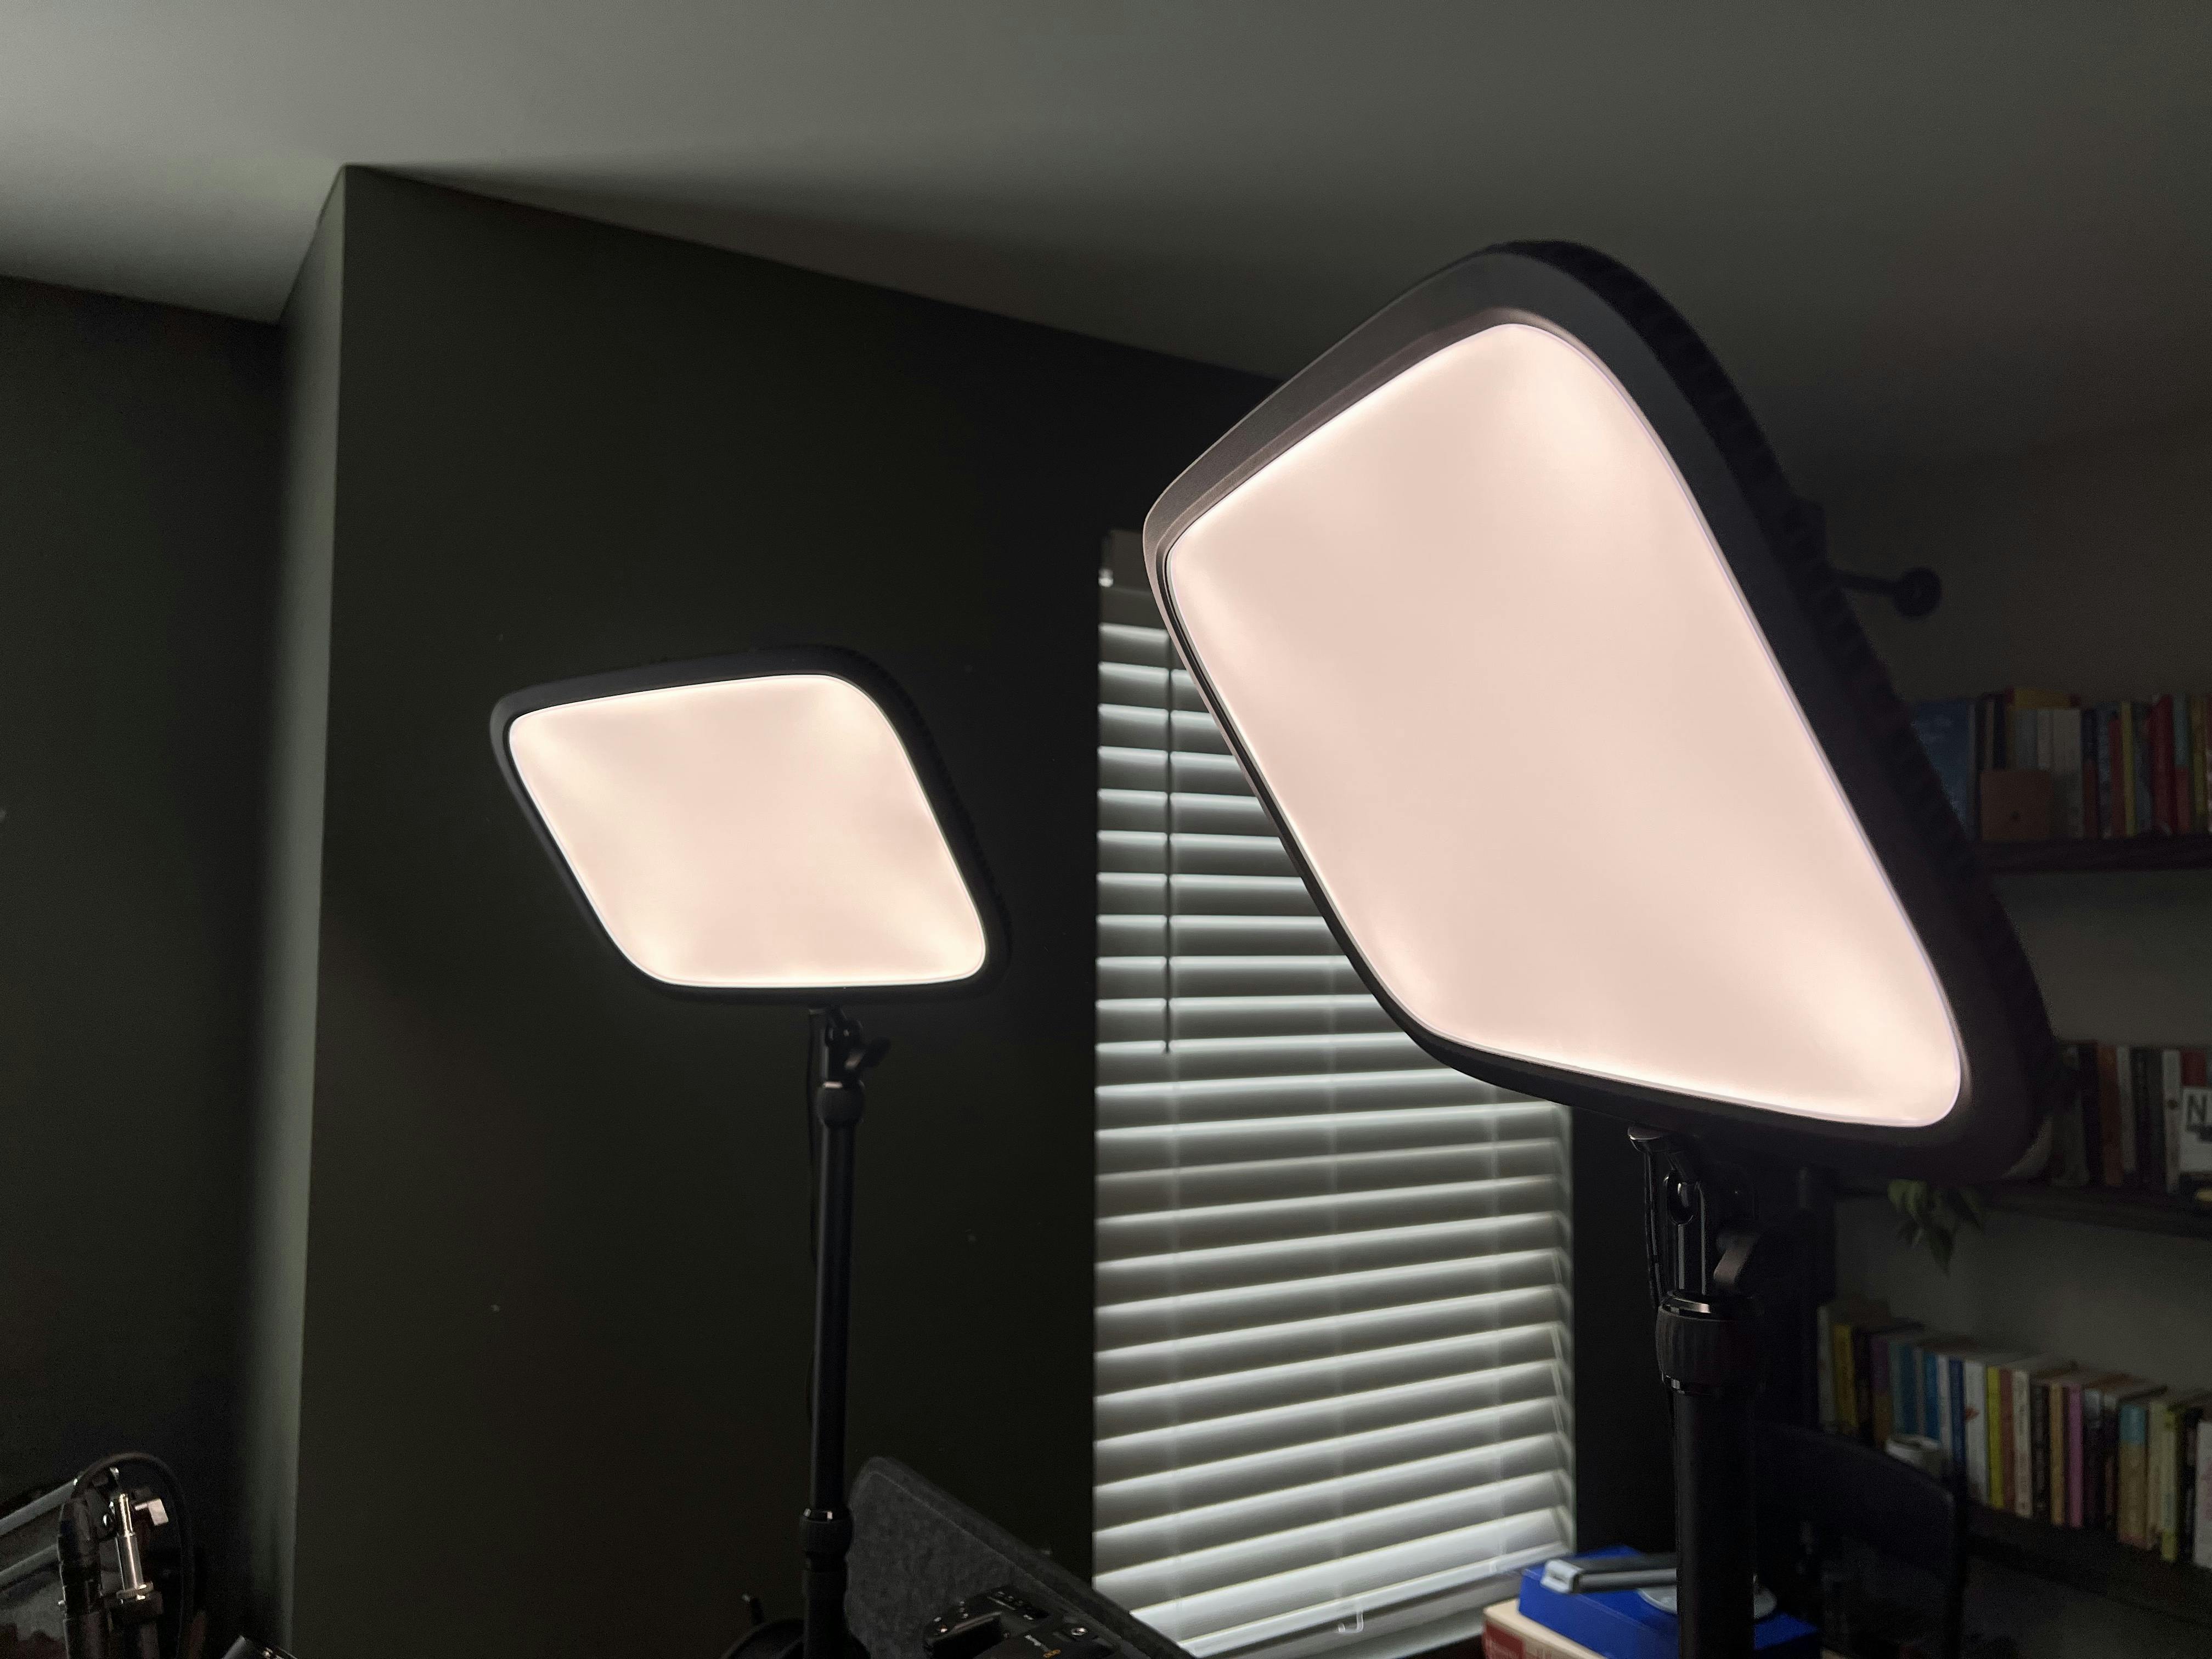
I like these lights because they come with c-clamps and telescopic poles that allow me to mount them directly to the desk and extend them above my monitor to light the entire scene properly.
You could honestly go gorilla hear and grab two lamps from around the house and place them in front of you, and it'll work — but the light it produces will not only be harsh on your eyes but will also be difficult to distribute the light evenly across the scene.
The Elgato Key Lights come with a diffuser, and when you raise them above your head, they become out of sight and much easier on the eyes.
The only thing I don't like about these lights is how they can sometimes "disappear" since they rely on wireless connectivity to control brightness and color, but with some of their most recent firmware updates — I see less of that happening now.
Microphone - Shure SM7B
Video is important — but I would argue that audio is more important since it's a medium that can be used without video. In my setup, I'm using the Shure SM7B, which, hands down, is a fantastic piece of hardware that'll be around for a very long time.
This is an absolute beast, and it exceeded all of my expectations when I first received it and tested it against some of my other microphones.
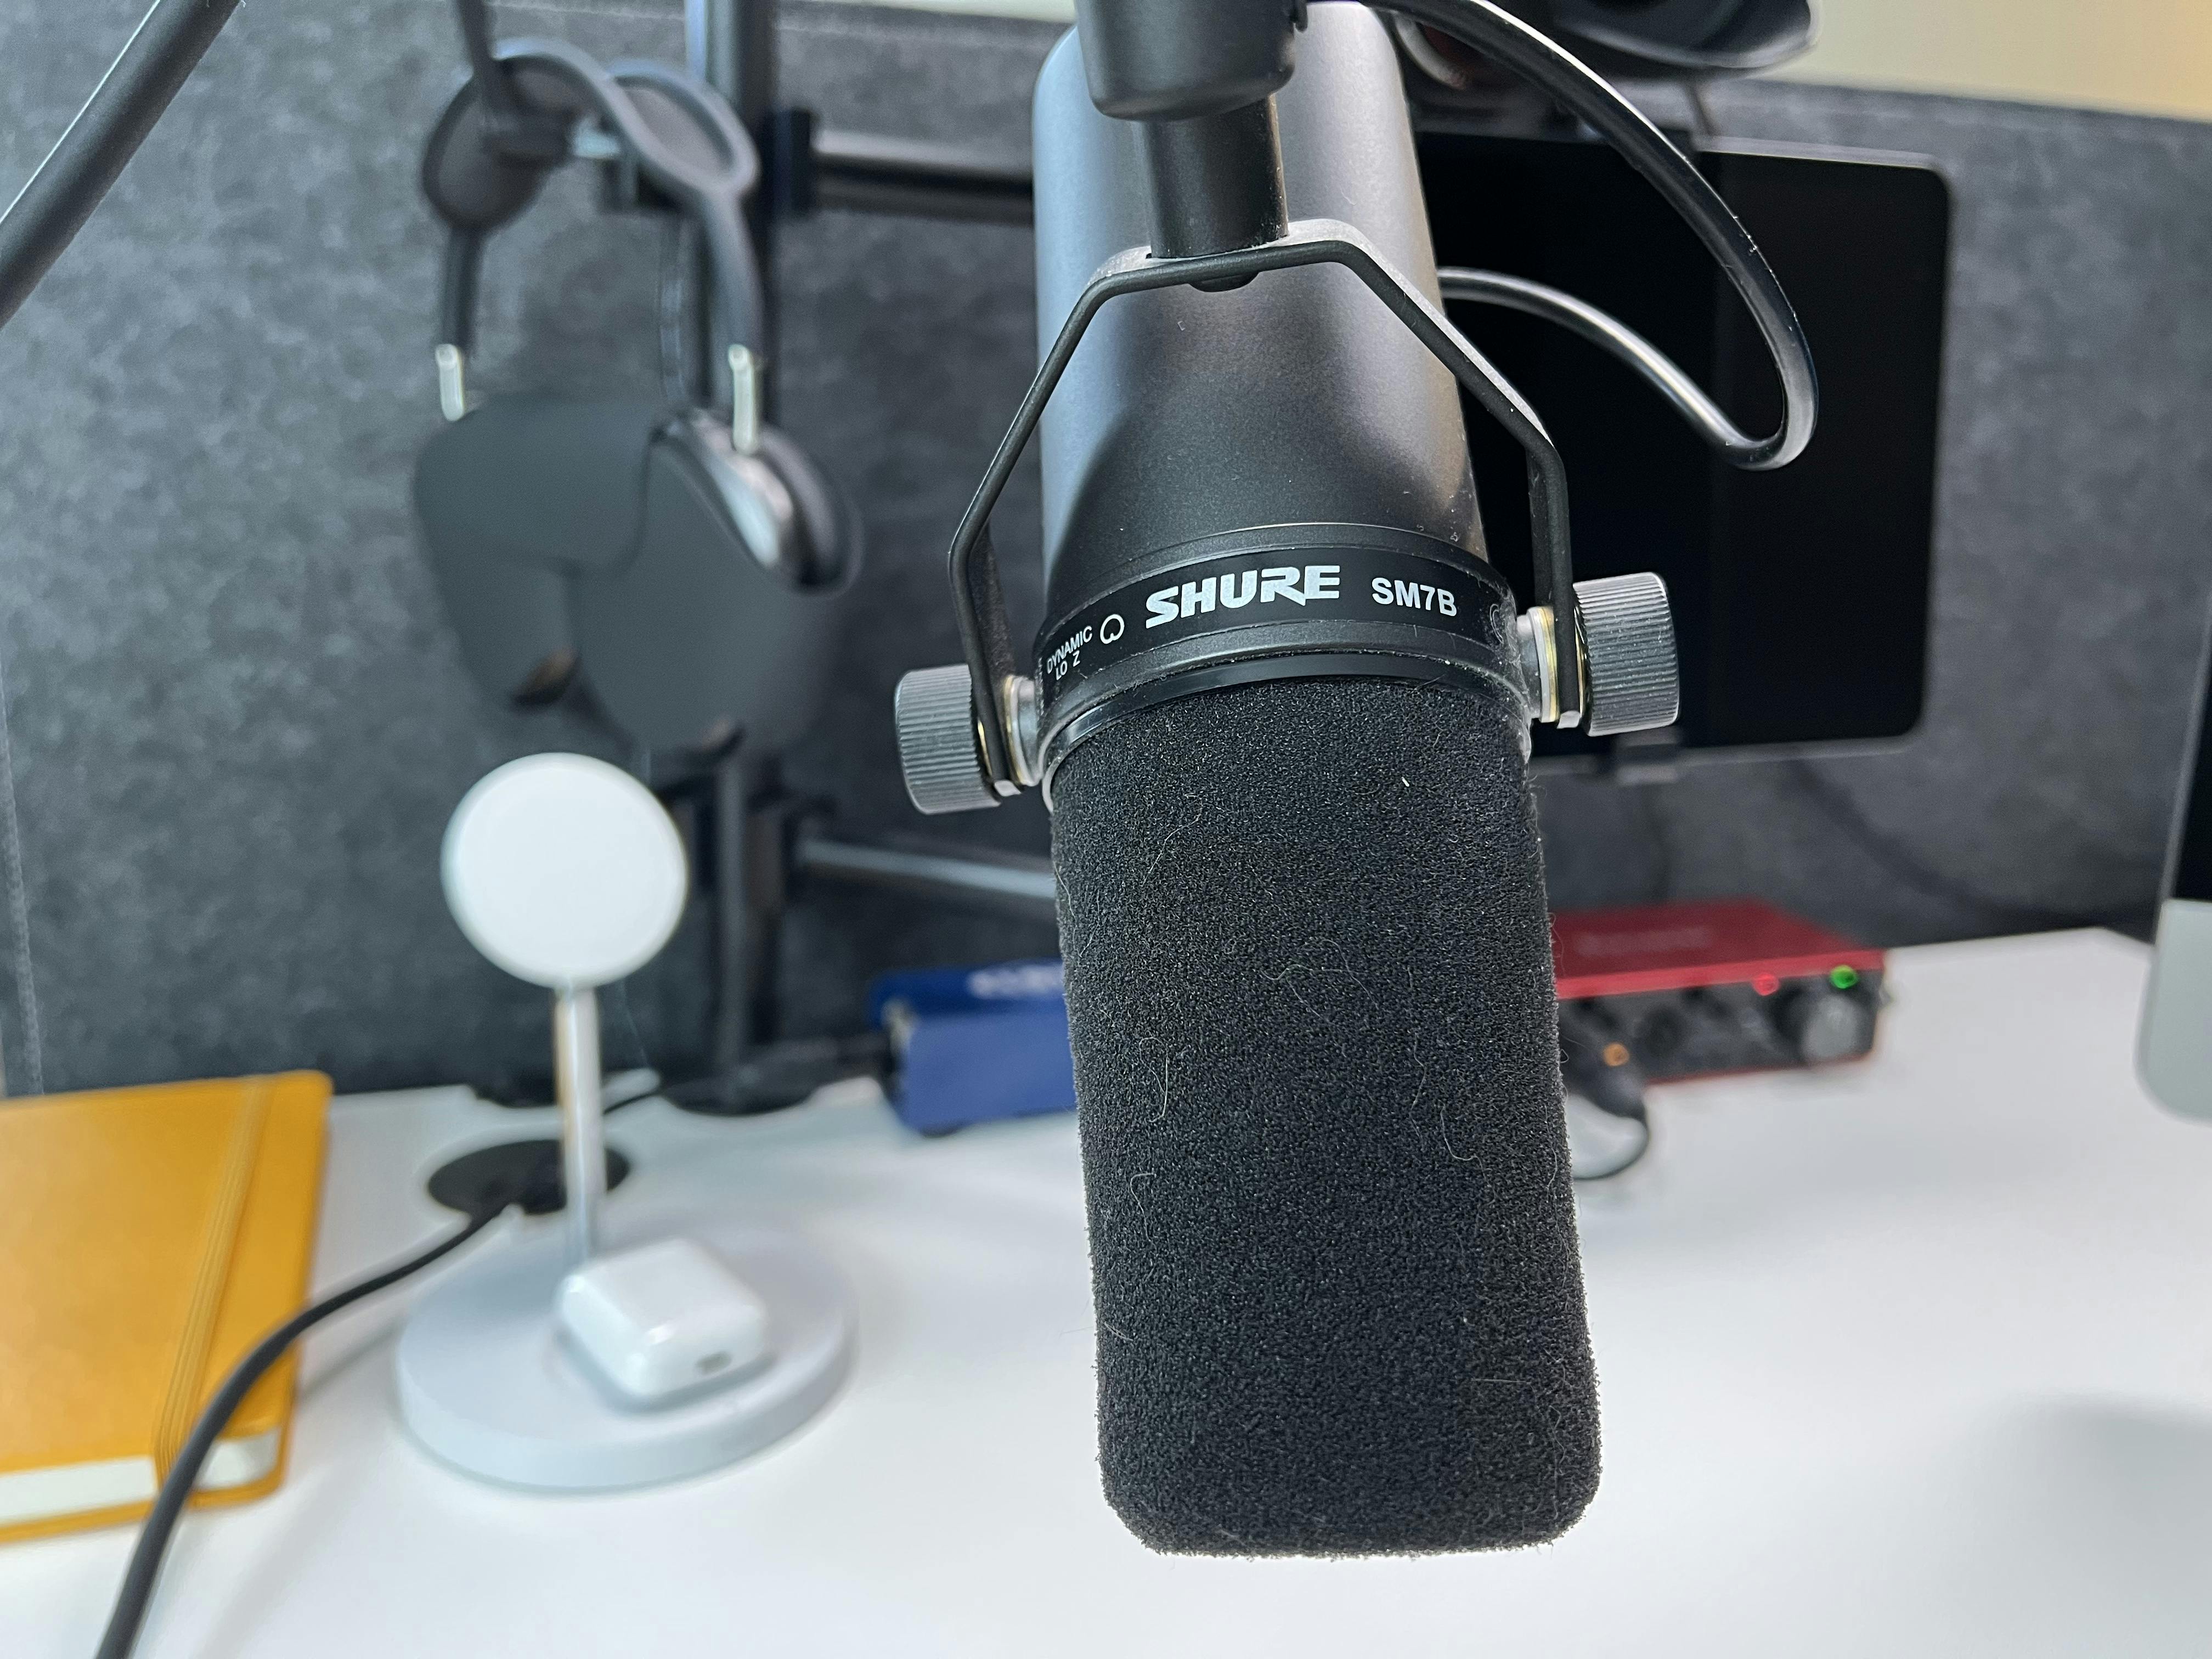
You will find that the Shure SM7B is tried and true microphone in every industry, including music, radio, and podcast.
Shure SM7B Dynamic Smooth Vocal Microphone for Radio/TV/Podcast Appllications
Audio interface - Focusrite Scarlett 2i2
There's a ton of audio interfaces to choose from out there, but around the time I settled on the Focusrite Scarlett 2i2, it had the best price point for the features that it offers.
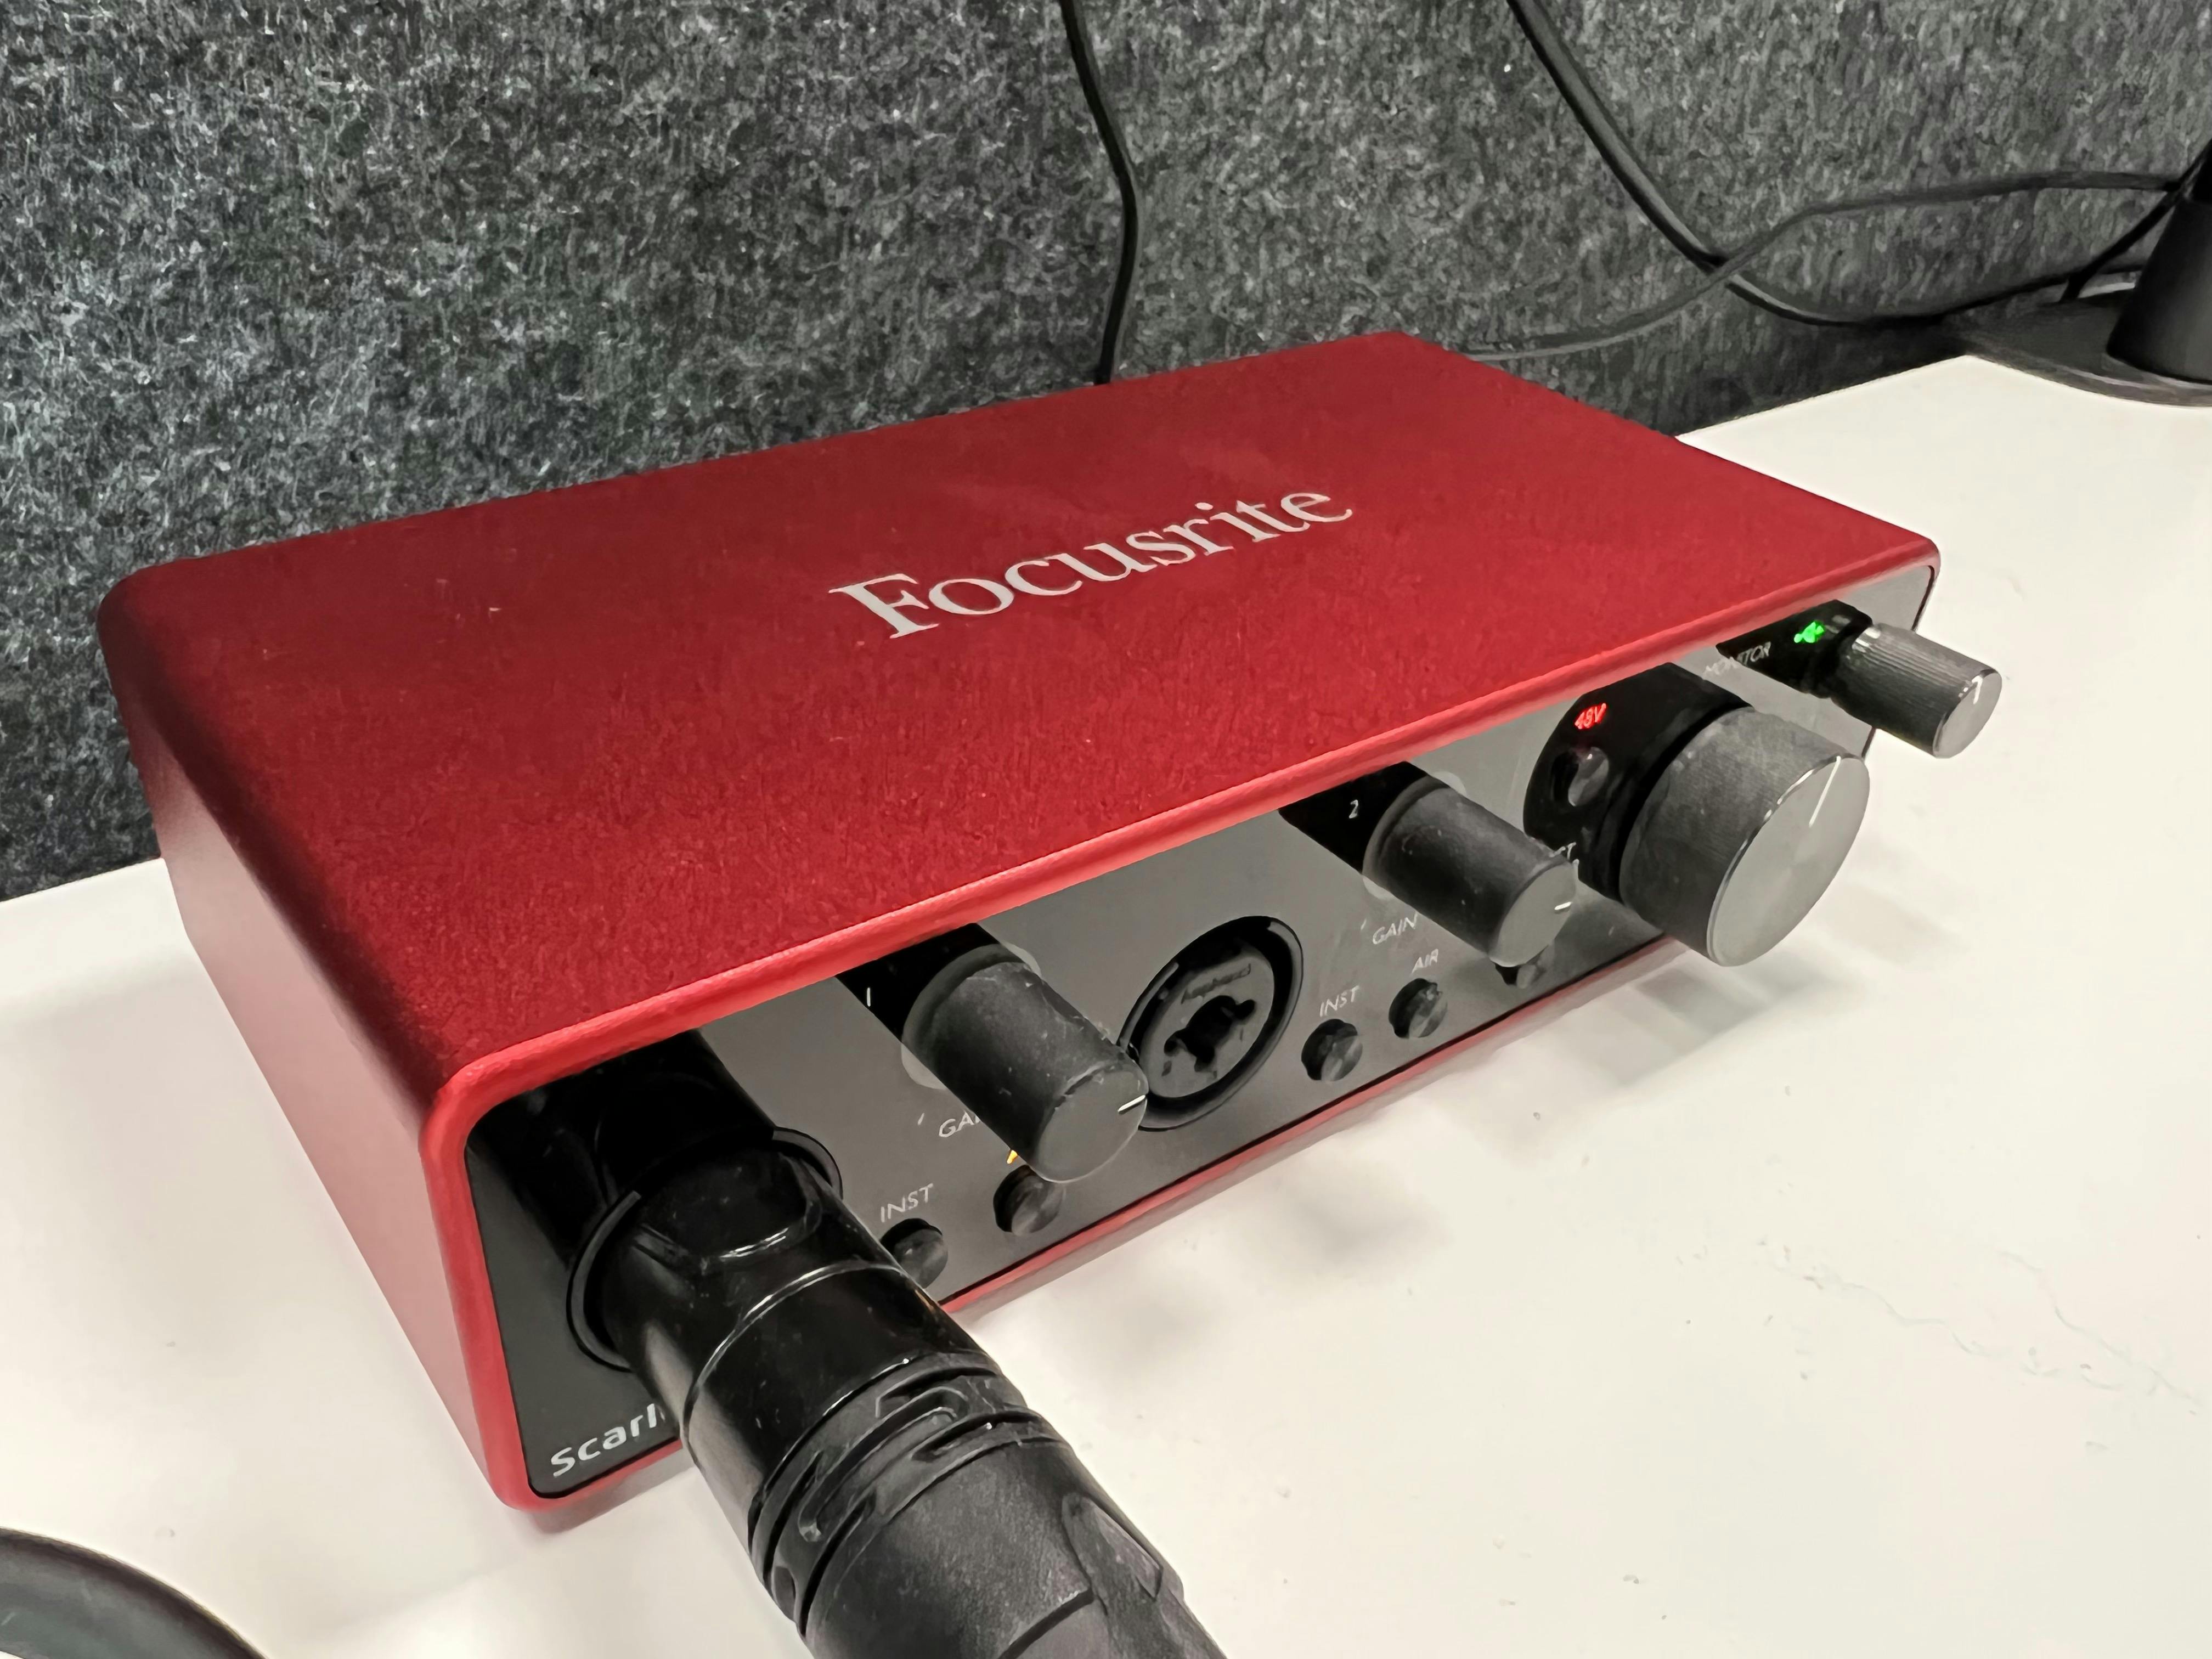
Let's not kid ourselves though, once you plugin this thing in and dial in your settings — it just sits there on your desk and becomes a forgotten piece of equipment, which is fine because it serves its purpose.
That said, this is a required part of the setup because without it, well, you won't be able to pipe audio into your computer.
Focusrite Scarlett 2i2 (3rd Gen) USB Audio Interface with Pro Tools
Signal booster - Cloudlifter
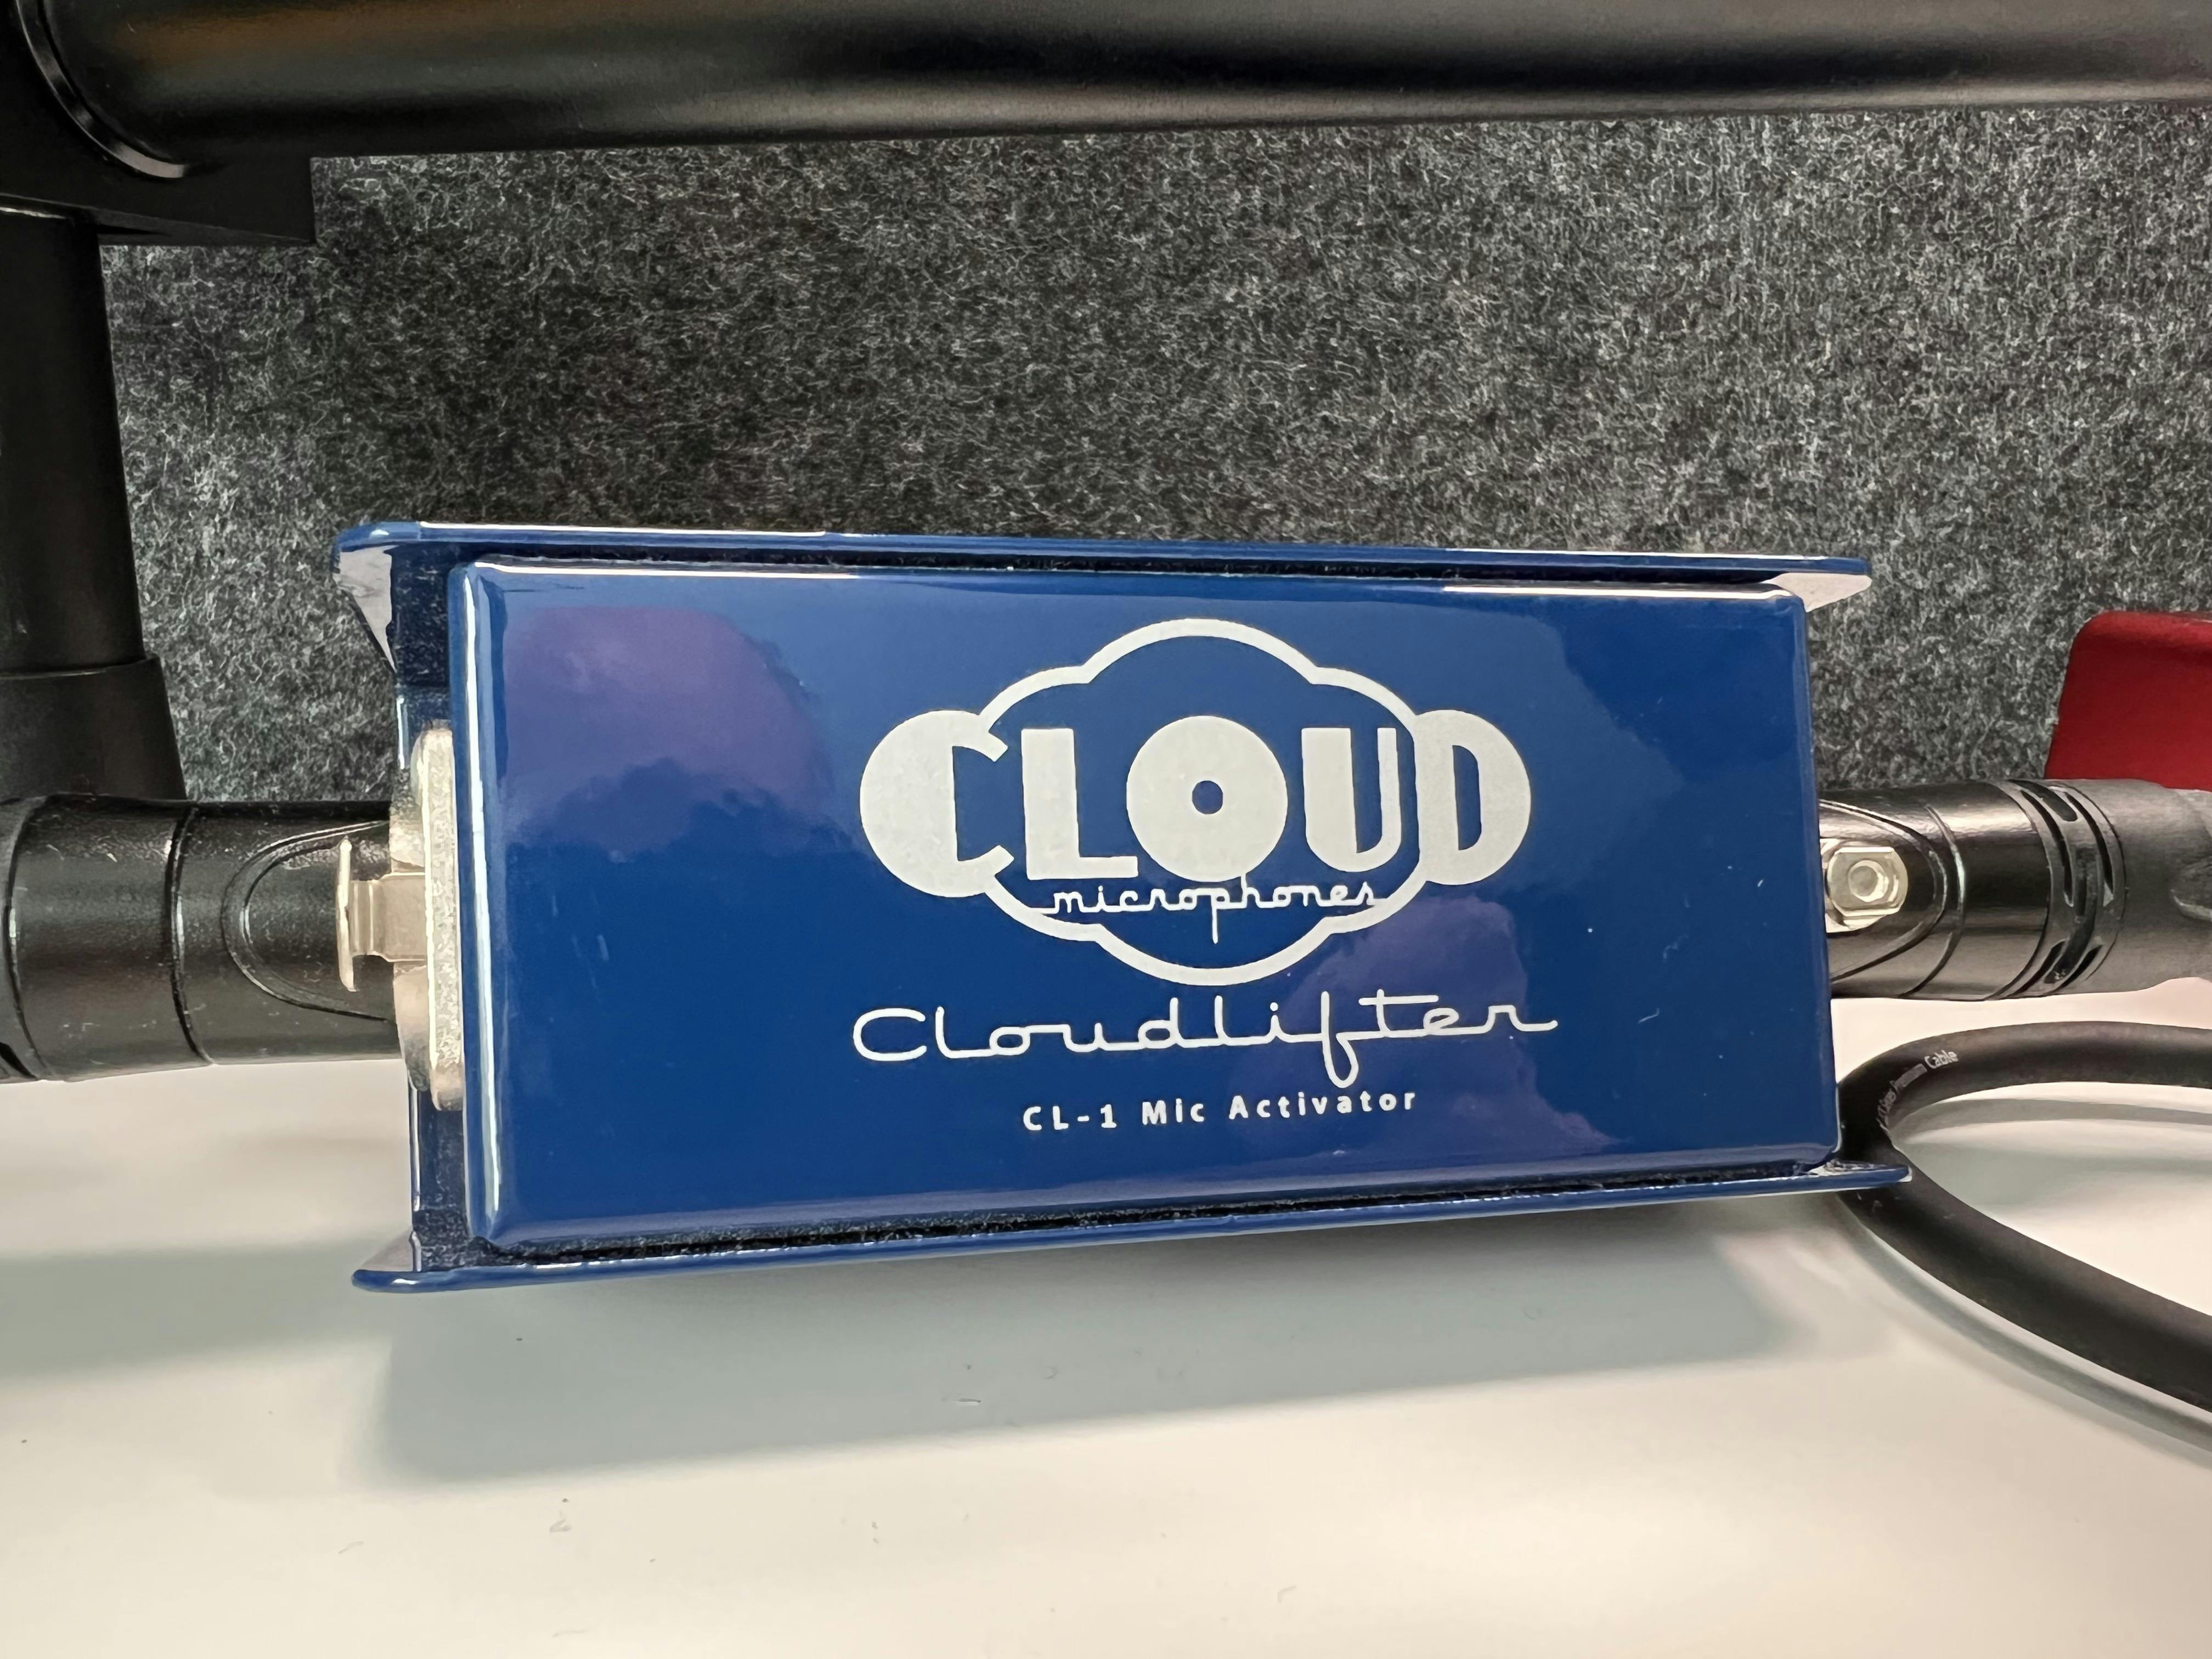
I noticed that the gain had to be cranked to hear anything coming from the Scarlet 2i2.
Even then, it was low.
This is no fault or flaw of the equipment; in fact, it's the Shure SM7B that requires a signal boost before it gets to the Scarlet 2i2. This way, when the Scarlet interface receives the signal, it's closer to a "normal" signal, and you should be able to dial back the gain quite a bit.
Cloud Microphones Cloudlifter CL-1 Mic Activator
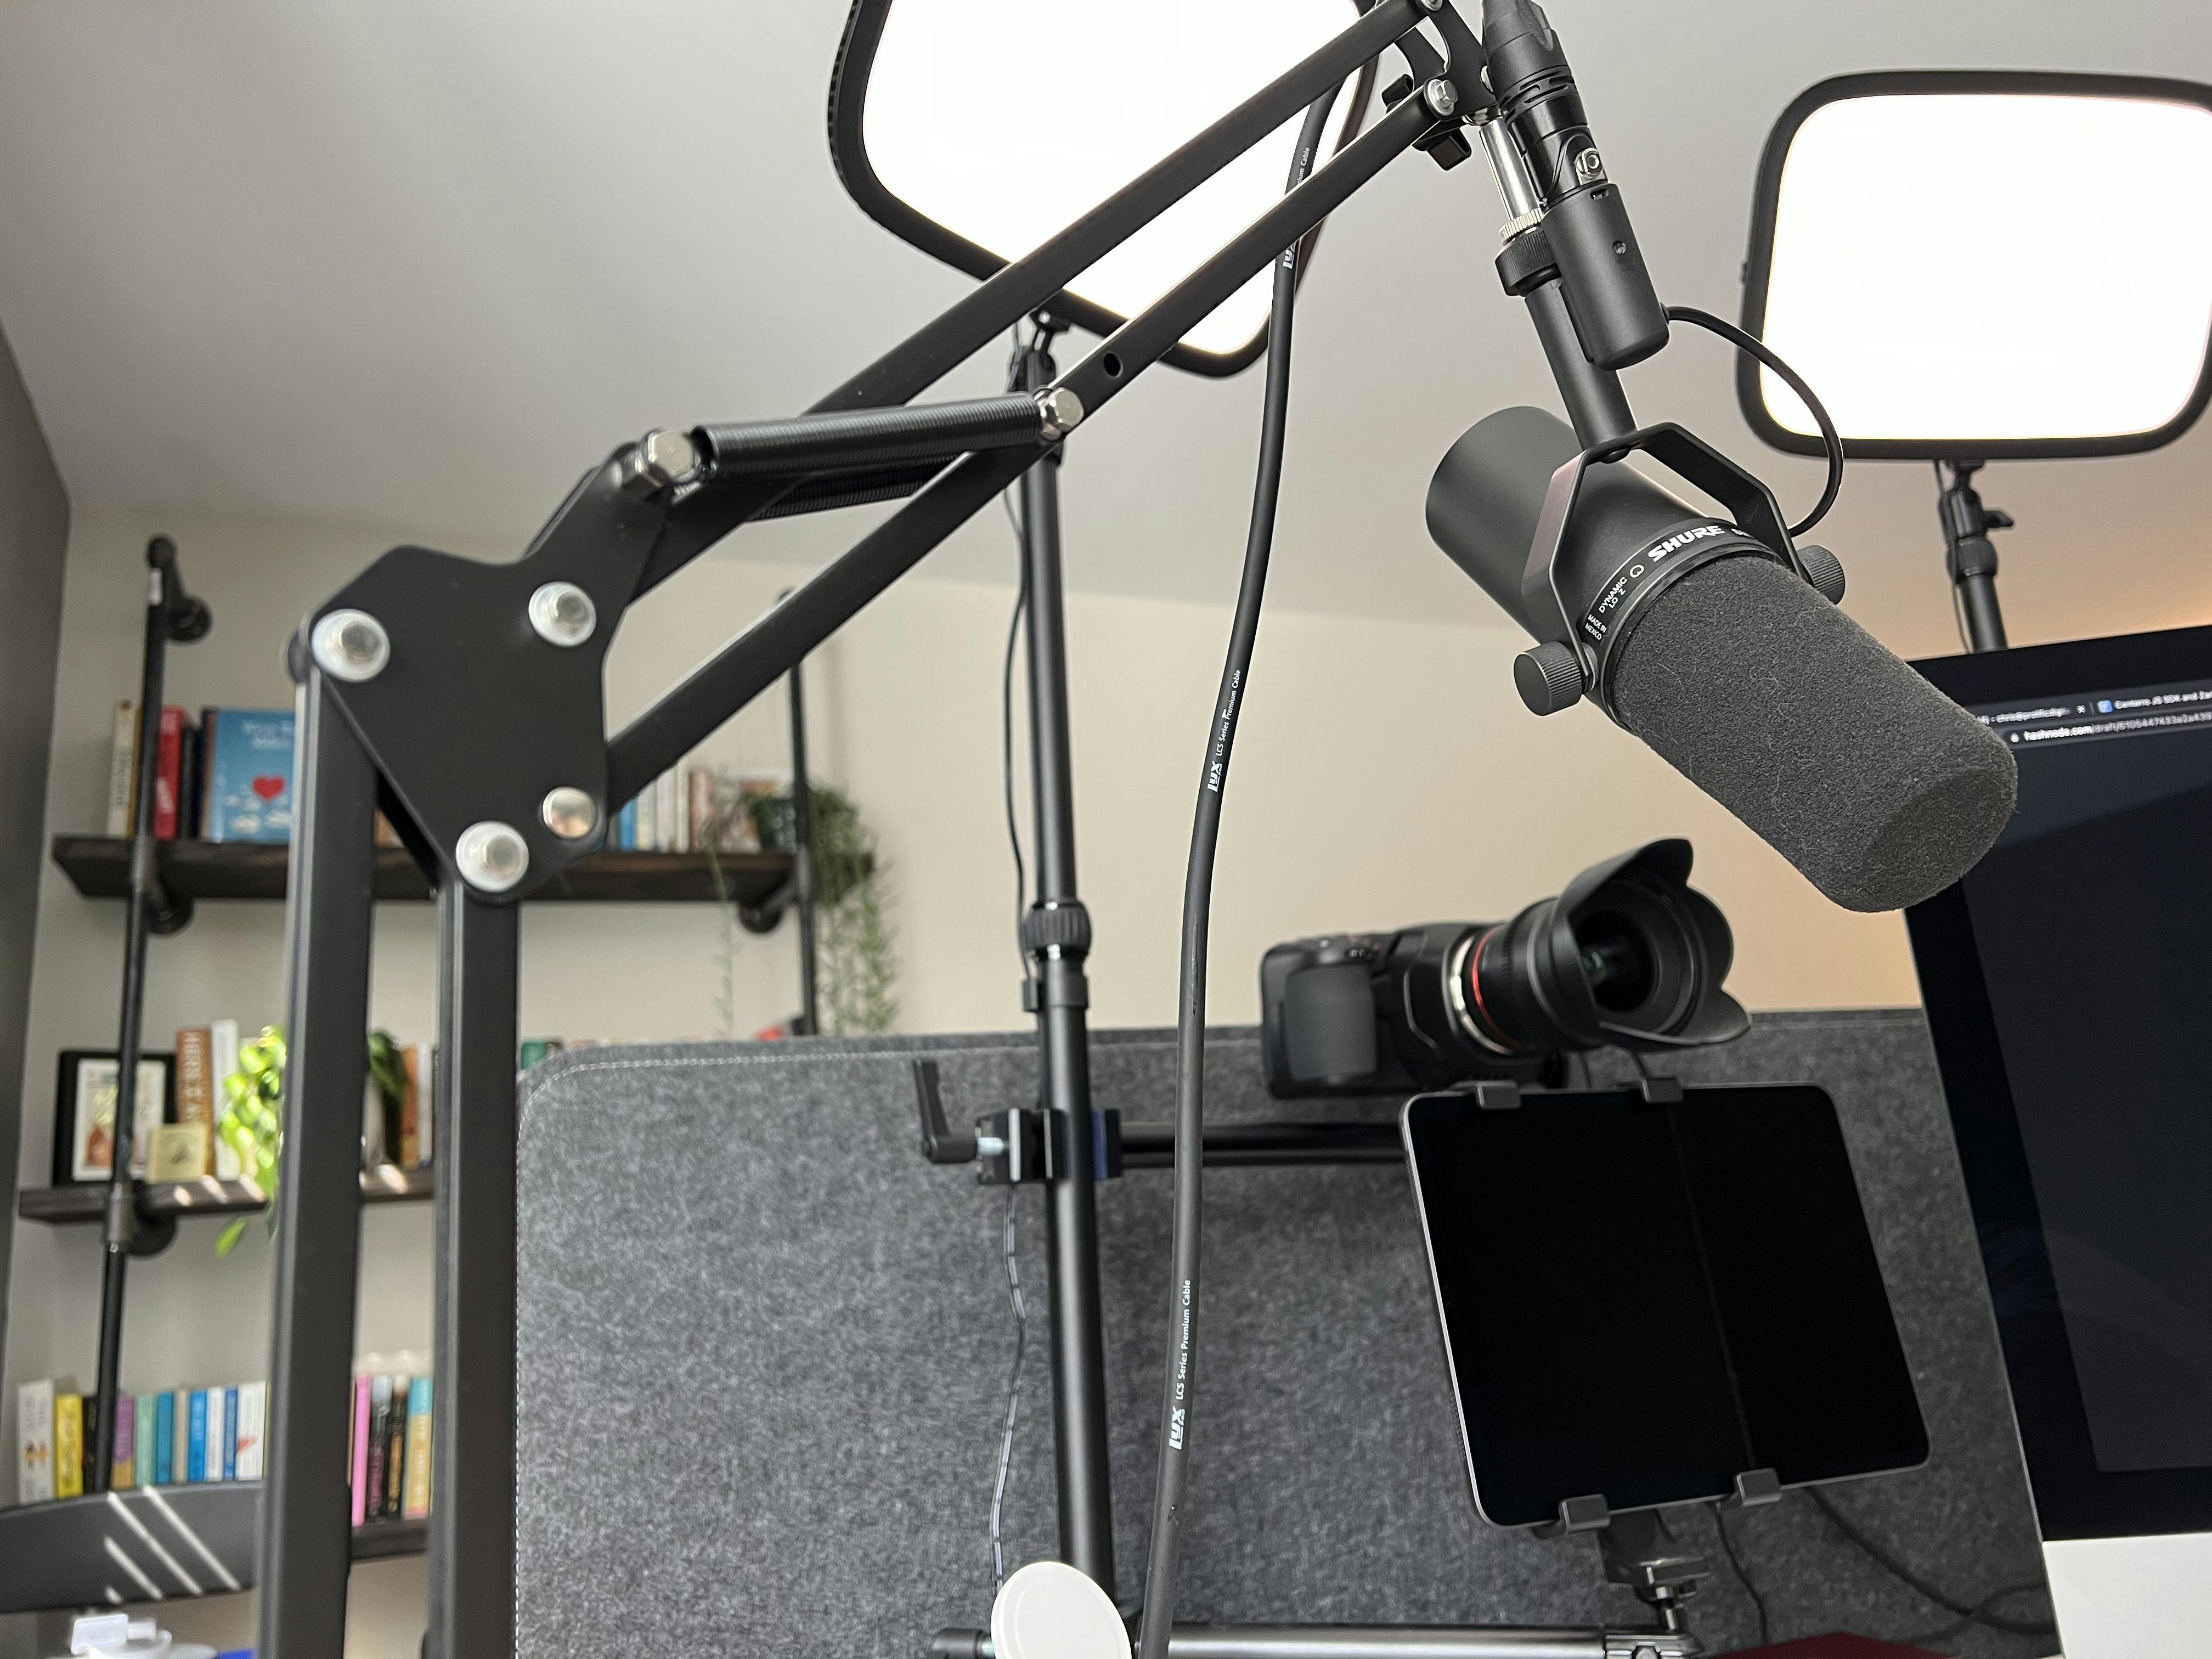
Mic stand - Suspension Boom Stand
There are a few different flavors when it comes to mic stands. You could go with a base that sits on your desk, or you could free up space by going with a suspension book stand.
I went with the latter because it allows me to pull it near me when I need it and push it out of the way when I'm done with it — all while keeping the clutter clear and free from the desk.
Audio cables - LyxPro XLR Microphone Cable (3 feet & 1.5 feet)
XLR cables are a dime a dozen with tons of brands and types. You do not need an expensive or fancy XLR cable, but if you want to add extra flair, LyxPro has cables that come in all sorts of colors.
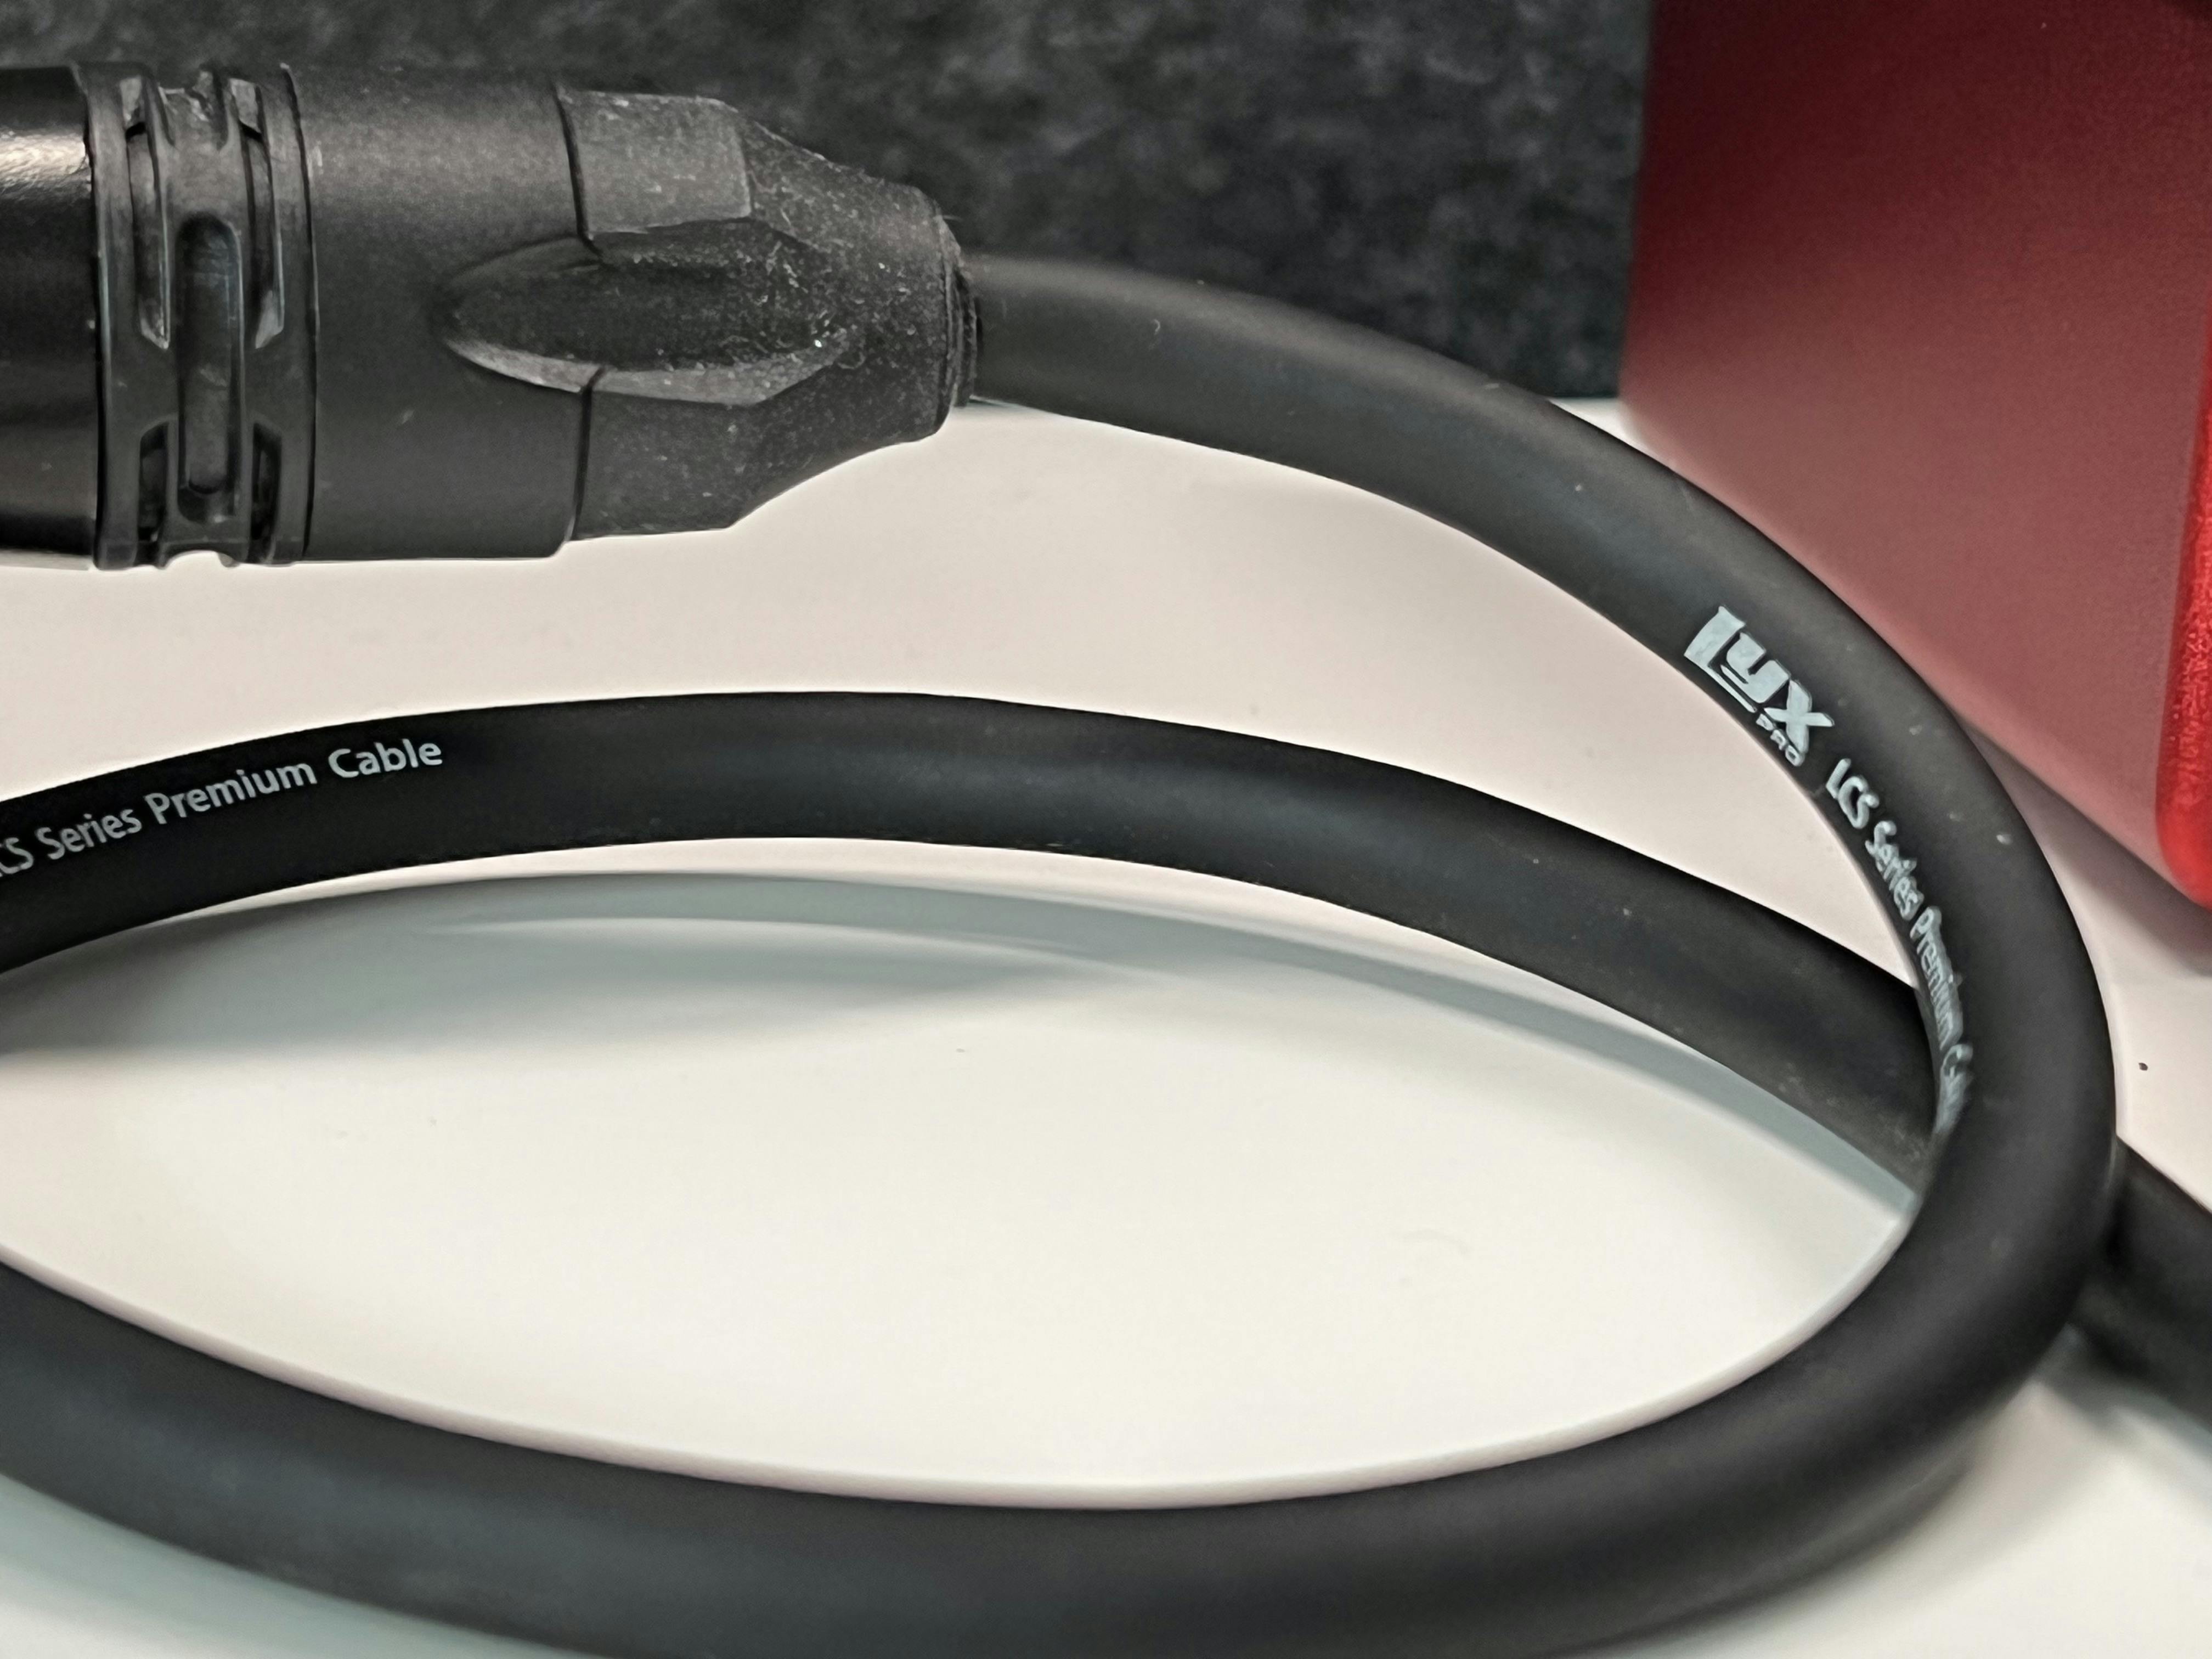
I went with black, which matches my other equipment and helps keep things hidden at the back of my desk.
The 3-foot cable goes from the mic to the Cloudlifter, while the 1.5-foot cable goes from the Cloudlifter to the Scarlet interface.
Controller - Stream Deck Mini
The Stream Deck Mini is optional but nice to have. It allows me to toggle both of my lights on and off — and also gives me the option to preset brightness, color temps, and opportunities to create additional "paged" presets that I can cycle through.
Wrapping up
So there you have it — this is my professional A/V setup that works for anything from online meetings to podcasts and video recordings.
I found this to be one of the best investments I've ever made.

